Wednesday, November 7, 2018

Canned Seasoned Chicken


Late last night I found out a new store a few minutes away was opening with an amazing sale on chicken. Since we eat a lot of canned chicken for quesadillas, I decided to go get a bunch and can my own. For what I pay for one 12.5 ounce can of chicken in the store, I was able to can nearly four jars of the same weight. I say that's an awesome deal!

Normally when I do chicken, I just can it in broth. Today, though, I took a walk on the wild side and seasoned it so the chicken going into the quesadillas is not bland.

To start, I chopped my raw chicken into cubes and placed it into jars, leaving one inch headspace. Then I added my seasonings. To each jar I added the following:

1 t broth base
1/2 t sea salt
1/4 t cumin (or 1/2 t if you love cumin! 😊)
Scant 1/8 t garlic powder
1-2 pinches chili powder


This is the broth base I use.


Next, the jars were filled to 1 inch headspace with water. Air bubbles were removed, additional water was added where it was needed, and the jar rims we're wiped clean.


The jars were then sealed with a lid and a ring and placed in the canner.


My pints were processed at 11lbs. for 75 minutes. Quarts would have been processed for 90 minutes. If you want to can chicken in a weighted canner, process it at 10 lbs for the same amount of time. Be sure to make any adjustments needed due to your altitude. As always, to ensure the safety of your food when canning anything, make sure to follow safe canning practices as outlined by the USDA.

The house smells so good, and my stomach is grumbling! I'm ready to eat! Enjoy!

Until we meet again, may you be blessed!

Sunday, November 4, 2018

Budget Friendly Healthy Meals

Hi friends! Recently, I've been getting a lot of questions and comments about my Trim Healthy Mama way of eating. I have been getting messages and comments with comments which I have made myself at one time or other, but I am here to speak a hard truth that I had to speak to myself.

Giving up our bad habits is not always easy. It is easy to grab quick, cheap foods that offer us a moment of comfort or fleeting satisfaction. They are easy, and our taste buds are tuned to them. Often they are the cheapest things on the shelf screaming out our name.

When looking at Trim Healthy Mama, it is easy to take the lazy way out and say that it is too expensive or there are too many special ingredients. I'm sorry, but I am going to stop you right there, dead in your tracks, just like I did myself. You stop right now. Stop giving yourself that excuse. I am taking it away from you because it is not true. If you don't stop telling yourself that, nothing is ever going to change, and you are never going to feel better. Your knight in shining armor or your fairy godmother isn't going to swoop in and magically make this happen for you, but I will show you how you CAN do Trim Healthy Mama easily without expensive, special ingredients. Please stop giving yourself excuses. You are worth way more than that! Give yourself the gift of your health! Only you can do it for you. You are not a victim of your food! You make the choice daily of what you put in your shopping cart and mouth. Do it for you, and do it for your family.

In this post, I am giving you a menu (not recipes) of meals that will last at least a week, maybe more depending in the size of your family. This is just a sample to show you that you don't have to make things complicated. I hope it gives you the courage and encouragement to move forward. I pray you find the excitement that, yes, you really can do this and make it work. Yes, you can put forth the few extra minutes of planning to make sure you are giving yourself and your family the gift of health. You can do this! I promise it is not hard, and it is so worth it! YOU are worth it! YOU are amazing and loved!

So let's get started. My first piece of advice to you is to keep it simple. Keep your carbs with carbs and your fats with fats. That's it. If you are eating a meal heavy in HEALTHY carbs, keep the fat to 5 grams or 1 teaspoon. If you are eating a meal that is heavy in fat, keep the carb count to around 10 grams or lower. My next word of advice is to not get hung up on the numbers. Just keep them as close as you can.

The following menu includes meals that are my stand by meals. They are staples in my weekly menus. Yes! I encourage you to make a weekly menu and make the grocery list as you make the menu. You must plan for success! When I have the energy and money, that is when I get adventurous and add in special meals. I have included only meals that are inexpensive and do not require any special ingredient other than an on plan sweetener which can be bought where you buy your groceries.

Breakfast
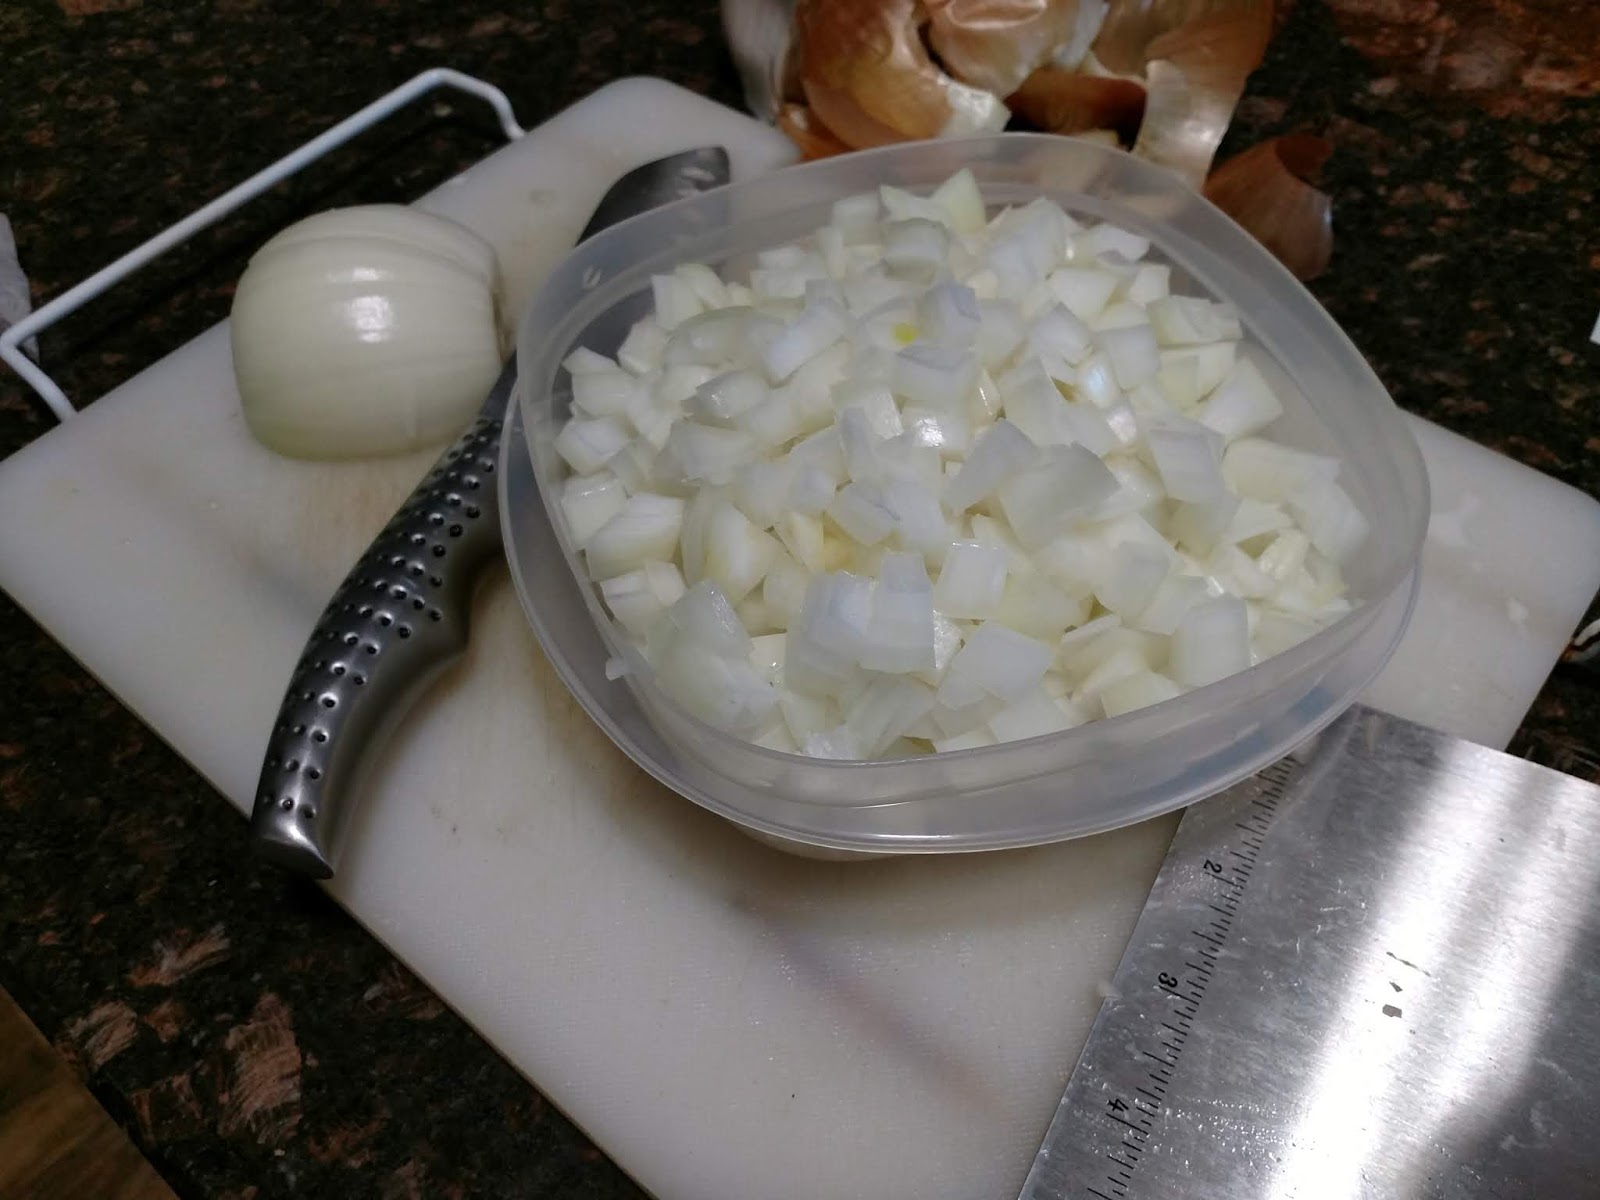
Bacon and eggs with berries on the side

Oatmeal- strawberry, blueberry, maple

Overnight oatmeal

Frittata

Egg muffins

Sausage or bacon with radish hash browns

Lunch
Wraps with lunch meat, lettuce, mayo and/or mustard- low carb tortilla

Chicken salad on a bed of lettuce

Tuna salad

Egg salad in a mini pita if your store carries Joseph's pita..make deviled eggs if the pitas are not budget friendly or are not carried by your store. Have some grilled chicken or other low fat meat with them and berries or a low starch veggie on the side

Black bean burritos- these are probably a crossover the way I make them, but I am okay with that. It is still a healthy choice that's on plan.

Ham or turkey rolls with raw celery, broccoli, and/or cucumbers with homemade ranch dip

Salad with grilled chicken strips- light on tomatoes

Leftovers from any on plan supper

Supper
Well seasoned drumsticks baked with a non starchy vegetable and a salad on the side

Crock pot BBQ chicken- use breast and the lowest sugar content sauce you can find- add a side of green fries or sweet potato fries

Pot roast with radishes in place of potatoes

Chicken and cheese quesadillas with guacamole- use low carb tortillas- can use canned chicken seasoned well

Tacos- light on tomatoes

Salmon patties with roasted or steamed broccoli or green beans

Chili- use one pound of the leanest ground beef you can afford and one pound of ground chicken

Boneless/skinless chicken thighs or breasts cut in half baked in brown rice and chicken stock with a small serving of peas and carrots or other veggie on the side

See! It's easy! It's not nearly as hard or painful or overwhelming as it seems. These are just examples of meals you could have. Just about any meal you already love and serve can be tweaked and adjusted to fit the Trim Healthy Mama plan. Eat what you love, but keep it between the guidelines. If you are unsure, reach out to someone who can help with your tweaks and questions. The THM Beginners group page is a wonderful place to seek help with questions. They are a friendly, loving bunch who are always willing to help a girl out! I'm positive they would give other great ideas for budget friendly options, too! You can do this! I promise! WE can do this!

Play around with this menu. Take off what you don't like. Add things you do like as long as they follow the guidelines. Soon, you will have a list of meals at your finger tips that will make planning quick and simple. Do the best you can. Learn as you go! You don't have to have it all down perfectly to begin; I sure still don't! The important part is to just begin and go from there. Start with just one meal a day if you are overwhelmed. Add an additional on plan meal gradually until you are fully on plan.

Feel free to comment with what you will add to your menu ideas! I love being inspired by others in my kitchen!

Until we meet again, may you be blessed!


Tuesday, October 30, 2018

Macaroni and Cheese


Good day friends! It is hard to believe how quickly the holiday season is approaching! I don't know about you, but I've been trying to watch my diet, and the thought of all the holiday fare has my waistline a little nervous! I am determined, though, to not be too mightily derailed by all the incredible temptations of the season!

It is already the time of year I start gearing up for Thanksgiving, my big meal of the year. I've been brainstorming ways to fit some of our favorites into my new way of eating. Yesterday, I got happy in the kitchen and tried out a macaroni and cheese to see if I could make it worthy of my table! It performed overwhelming well as a people pleaser and came out a winner! I wanted to share it with you, and to preserve it here so I can make it again, too!

If you are following Trim Healthy Mama, this will fall into the S meal category. I will admit, this is not a recipe one would probably want to serve often, but it will work well for special occasions. I hope you enjoy!

Macaroni and Cheese
13.2 oz Dream Field pasta
1 c sour cream
1/2 c 2% small curd cottage cheese
4 oz 1/3 less fat cream cheese
1/2 c almond milk
3 T butter
1 t sea salt
1 t ground mustard
1 t paprika
1/2 t onion powder
1/2 t garlic powder
1/4 t ground white pepper (can use black)
2-3 pinches turmeric
4.5 oz package Sargento 4 State Cheddar shredded cheese
1/4 c 4 Cheese Mexican Blend shredded cheese

Prepare noodles as directed. While those are cooking add all the ingredients except the shredded cheeses to a blender. Pulse and the blend the ingredients, stirring down sides a few time, until all the ingredients are smooth and creamy. When noodles are done, drain well. Return noodles to the pan, and pour the sauce in the blender over the cooked noodles. Place the pan over medium low to low heat and add the shredded cheeses. Stir to mix well. Continue to stir often until the mixture is warmed through and begins to bubble. Be careful not to let it burn. Remove from heat and serve while still hot.

I recommend keeping the serving size to no more than a cup and make sure there are plenty of people around to help polish it off. It is not recommended that those trying to lower his/her carb count reheat the pasta.

This recipe would also make a great base for a main meal! To make this a main dish any time of year, try stirring in taco meat, ham cubes and broccoli, chili without beans, or chicken and mixed vegetables. If you want to go a little fancy, stir in lobster! Mmm...so good and so many options!

Until we meet again, may you be blessed!

Monday, October 22, 2018

Chocolate Covered Strawberries Oatmeal

Good day friends! I'm just stopping in to share a little oatmeal I whipped up this morning. It was an experiment that went well, so I thought I should share, if for no other reason than to be able to remember it myself. 😁 Please forgive me for the lack of a pretty finished picture.

First, I gathered all my ingredients.


I used 1-3/4 cups of water plus 1 cup of almond milk, 1-1/2 cups of old fashioned oatmeal, 1 cup of sliced strawberries, 2 tablespoons of cocoa, 3 teaspoons of Super Sweet, 1 tablespoon of heavy cream, and 3 pinches of sea salt.

To begin, I added the milk and water to a sauce pan on medium heat. Let that come just to a boil.


At this point, add all the other ingredients except the heavy cream.


Make sure to stir to mix everything well. Bring the oatmeal back up just to a boil, stirring often. Just when the oatmeal starts to boil, reduce the heat to low, and let the oatmeal cook while stirring often until it reaches your desired consistency. When the oatmeal has reached your desired consistency, remove the pan from heat and stir in your cream. If losing weight is not your goal, feel free to add more cream. My children both liked this oatmeal, to my surprise, with extra cream.


I hope you have a chance to try this recipe and enjoy it!

Until we meet again, may you be blessed!

Tuesday, October 2, 2018

Canning Dry Beans


Welcome back, reader friends!

It has been a busy few days here in the meadow of simple blessings! I have really been catching up on the canning I haven't been able to get to for so long. Yesterday, was my day to tackle my dry beans basket.

I have to admit I don't always do things right by the book when it comes to canning. If you are one that doesn't believe in deviating from the rules, this post might not be for you, and that is okay. I can handle that.

Normally, I like to soak my dry beans overnight, but I had to do what I had to do while I had a day to do it! Needless to say, my beans didn't get soaked this time. I washed and rinsed those beans, got a good bit of them canned, and the world didn't end when I couldn't get the job done the most ideal way.

I thought I would take you along the process so you can have confidence doing your beans, too!

First, get all your supplies ready after giving your counters and stove a good wipe-down. You will need to get your canner ready with the proper amount of water in it ready to go on the stove. (Please make sure it is a pressure canner! I'm not that much of a rebel!) Also, set a large pan of water on the stove to start heating. You will want the water at a boil to fill your jars. Have an adequate number of lids, rings, and jars in your work area. The number you need totally depends on the amount of beans you wish to process. I like to get out at least as many as my canner will hold. Lay out a towel to sit jars on as you fill them. Have your ladle and jar lifter in your work area also. Below is my work space with my jars of beans added.


Next, gather the beans you wish to can. Sort them to remove any small rocks or unpleasant beans. Rinse the sorted beans several times until the wash water isn't dirty. Below are my red kidney beans, but I also did black eye peas.


Measure a half cup of the rinsed beans into clean jars. This is the part that bothers me about canning dry beans. It seems like so much wasted space. You have to remember, though, that these beans have not been soaked and will absorb liquid and expand during the canning process. I have tried to use more beans, but they always end up being too thick and too full when I do. I've just learned I have to accept extra empty space in my jars if I don't take the time to soak the beans first. On another note, I like to use the funnel when putting beans in to make the job easier and neater. It helps keep extra gunk off my jar rims.


Next, I like to add a little broth base and seasoning with a little extra salt and onion powder. In each pint I used two teaspoons beef broth base, 1/2 teaspoon salt, and 1/4 teaspoon onion powder.


To the jars, add boiling water, leaving 3/4 inch headspace.


Wipe the rim of each jar with a damp paper towel and place a lid on each jar. Secure each lid with a ring tightened to just finger tight. Place the jars in your canner and process at ten pounds pressure. Make sure to make adjustments for altitude if needed.

There you have it, my friends! It takes a little time and a little effort, but it is worth it to have a jar of beans to easily heat up for a meal!

Until we meet again, may you be blessed!

Monday, October 1, 2018

Chicken Salad

Hello my reader friends! I am going to just go ahead and apologize! I thought I had shared my chicken salad with you before! When searching for the post for a friend, I sadly realized it didn't exist! I must have written that amazing post in my head! This recipe is a must have in your arsenal of "knock out" recipes!

Making it is easy, so let's get started!

If buying those rotisserie chickens from the store is your thing, you can skip this step, but I like to make my own chicken when I have the time. I used to have a rotisserie. I wore the poor machine out, though. Not to worry, making the chicken the way I am about to show you works wonderfully for this recipe.

Begin by lining a baking sheet with foil. Place three large chicken breasts in the lined pan. Season both sides really well with salt, pepper, garlic salt, and rotisserie seasoning. Place another sheet of foil over the chicken. Tightly fold the sides together to make a pocket.


Bake the chicken for forty-five minutes to an hour until it's done. When done, remove the pan from the oven and let the chicken cool.


Once the chicken has cooled, dice the the meat into small pieces and add to a large bowl


Gather your grapes, onion, celery, mayonnaise, chopped pecans, salt, and dry ranch seasoning mix. I make my own, but you could easily use a packet from the store if you would like.


Chop the celery, grapes, and onions, adding them to the bowl with the chicken. Add a cup of mayo and one to two tablespoons of ranch seasoning.


My daughter can't have nuts. I had to stop at this point to mix up the salad so I could remove some for her. Once I had a portion scooped up for her, I added the pecans.


Taste and adjust seasonings as desired.

Enjoy your salad in a fancy dish or between two slices of white bread on a paper plate. Either way, you'll be glad you made it! I hope you enjoy it!


Chicken Salad
3 chicken breasts
1 bunch grapes
1 c mayonnaise
1/2-3/4 c chopped pecans
3/4 cup finely diced onions
4 ribs celery
Salt
Pepper
Garlic pepper
Rotisserie seasoning
2 T Dry ranch dressing seasoning

Directions:
Line a baking sheet with foil. Place chicken on the lined pan. Season both sides of the breasts well with salt, pepper, garlic salt, and rotisserie seasoing. Using a second sheet of foil, make a pocket for the chicken , sealing the edges of the foil together with tight folds. Bake the chicken on the pan at 350° for 45 minutes or until done. Remove chicken from the oven and allow it to cool.

Dice the chicken into small pieces and add it to a large bowl. Chop the desired amount of grapes, celery, pecans, and onions, adding them to the bowl of chicken. Stir in mayonnaise and ranch seasoning. Start with one tablespoon of the ranch seasoning. Mix well. Taste and adjust seasonings as desired.

There you have it, friends! Do you like an unexpected ingredient in your chicken salad? My friend, Morgan, makes her chicken salad very similar to mine, but she uses apples instead of grapes. I would love to hear your favorite twist!

Until we meet again, may you be blessed!

Sunday, September 30, 2018

Cheesey Chicken Chowder Base


A few years ago, one of my Montezuma group of friends was pregnant. Our group of friends got together to can soups to gift her so she would have some easy meals once the baby arrived. We also turned it into a soup swap. My friend, Kristy, made Cheesey Chicken Chowder. It was so good, and my children loved it!

A while back we were wanting it again, so I asked Kristy for the recipe. Somehow, I lost it, but I asked for it again just a few days ago.  Since procrastination was the sneaky culprit which caused me to lose the recipe the first time, I went ahead and put in the little brain work and converted the recipe to be suitable for canning in the proportions I needed, and I wrote up the directions to make the chowder once the base has been canned. To make sure I can always get to the recipe, I am sharing it with you here!

This recipe takes some time, but it is very easy.

The first step was to cook a family size pack of chicken breasts. I put mine in a large stock pot, season the meat well with sea salt, black pepper, seasoning salt, several shakes of soy sauce, several shakes of Worcestershire sauce, and 1/8-1/4 teaspoon of turmeric.


Cover the meat with water and let it boil until done.


Once the chicken was on the stove, I began to prepare all the vegetables. I especially wanted to do the potatoes first so that they would have time to soak and release a lot of their starch to prevent the canned soup from being cloudy. I made small dices because thatst what I like best in my chowder.


I put them in water as I diced to prevent Browning and put them in the refrigerator when I was done to let them soak until needed.


This recipe only used a little more than half of my pack of celery. Again, I kept my dicing small. Chop, chop!


If you hang around this blog very long, you will learn I absolutely detest, hate, abhor dicing onions! I'm always quite sure imI going to die when I have to cut up an onion! Imagine the horror of having three to dice!! I diced as small I could and still survive. I had to take several breaks to stop crying, but I got the job done! Cooking is a labor of love, and love hurts sometimes! 😆


I put the veggies in the frig to hang out at their fair well party until it was needed.

Once the chicken was done, I let it cool until it was warm enough to handle comfortably. Then it was sliced and diced into small pieces similar to the veggies. I measured it out as I chopped.


Then all the ingredients were gathered together to begin packing the jars. I made sure to drain the water off the potatoes. Notice, too, the carrots joined us. I love the look of the Matchstick carrots in my canned soups, so I saved my self a little extra work and bought them precut. I thanked myself.


This is where the fun part begins! I began layering the ingredients in my jars, dividing the ingredients as evenly as I could.


Isn't it pretty?

Next, I began filling the jars with chicken broth. Make sure to fill the jars to one inch headspace for proper canning. I like to use my funnel to keep the jar rims as clean as possible during filling.


To make sure the rims are clean and to reduce the likelihood of a seal failure, I like to wipe the rims with a napkin and vinegar when using something greasy.


Lastly, the jars are sealed with a lid and ring, and the jars are placed in the canner. I love my new canner! I was able to can all twelve quarts at one time!


The jars are canned at 10 pounds for a weighted canner or 11 pounds for a guaged canner for 90 minutes where I live. Make sure you make adjustments for altitudes above 1000 feet if you are trying this recipe.

Here they are all nice and pretty, right out of the canner!


Cheesey Chicken Chowder Base
7 32oz chicken broth
8-9 c cooked, diced chicken
2-3 onions, finely chopped
3-6 potatoes, diced
3 c celery, diced
1 10oz. bag Matchstix carrots (about 1/8 -                    1/4 c per jar)

Layer chicken, onions, potatoes, celery, and carrots in 12 quart jars, dividing vegetables evenly among the jars. Fill each jar with chicken broth, leaving 1 inch headspace. Wipe rims of jars with vinegar and a paper towel. Seal with flat lids and rings until finger tight. Place jars in canner and process jars for 90 minutes at 10 pounds pressure for a weighted canner or 11 pounds for a guaged canner. Make adjustments for altitude, if needed.

To prepare chowder:
Pour contents of jar into an adequate stockpot. Heat to boiling. Remove from heat. Add one quart of milk per jar used. Add desired amount of cheese and stir well until melted. Add two tablespoons of butter if desired. Adjust seasoning to taste. I use salt and soy sauce. Flour can be used to thicken if desired, but I never thicken mine.

I hope you get the chance to try this recipe and that you enjoy it! I enjoyed preparing it to present to you!

Until we meet again, may you be blessed!
*To ensure your safety, follow the canning regulations issued by the USDA.

Sunday, June 3, 2018

Lemon Balm Tea


Today's post is a fun one for me!

I have been growing lemon balm in my garden the last two years. Last year, I didn't do anything with it. This year, however, I was determined to make that plant shine in my kitchen! Today, therefore, I made Lemon Balm Tea!

My husband has a friend over who can help him with a few projects he has been wanting to get to for a while. I figured since it is so hot and humid, they need to stay well hydrated and refreshed. Right!? Perfect guinea pigs!!

To make the tea, you will need two packed cups of whole lemon balm leaves.


Make sure to wash the leaves well in cold water and add them to a two quart jar or other container you may have that is safe for boiling water.


Bring two quarts (or close to it) of water to a rolling boil, and pour the water over the leaves.


With a spoon, push the leaves down and bruise them a bit to release the flavor and beneficial oils from the leaves.


It doesn't take long for the color of the water to start to change. Only let the leaves steep for ten minutes, though. Isn't it so lovely?


While that is doing its beautiful thing, measure out a cup (more or less depending upon your tastes) of sugar into a one gallon container. Stir in one or two quarts of water to dissolve the sugar.


After ten minutes, the tea is done. I think it is just so pretty! It just amazes me that this all started one very cold day with a teeny-tiny seed I planted inside!


Using a strainer to catch the leaves, pour the tea into the gallon container with the dissolved sugar.


Add extra water, if needed, to fill the gallon container. Give it a quick stir, and the lemon balm tea is done!


Serve it in a frosty glass with a spring of fresh mint or dehydrated lemon ring, and you'll have a perfect treat to beat the summer heat!

Until we meet again, may you be blessed!