Wednesday, August 31, 2016

Starry Quiet Night


These photos have nothing to do with my post for tonight. These were just images from the world around me that I found beautiful and captured. I just thought I would share them with you. 😊

I walked outside tonight. It was so incredibly dark and quiet and still. Simply beautiful, full of the Spirit of God. I looked up to the endless heavens to see some of the bright stars twinkling at me.The heavens were so wide and boundless. It reminded me of a thought to God I had just a few minutes before I walked out the door: Lord, I thank you for all you have given me. I have all I need. If I don't have all I need, I have some of what I need. If I don't have any of what I need, I have you. Surely, that is enough. I always have a reason to praise, You. Thank you, LORD, for being my everything.

Until we meet again, be blessed.

Tuesday, August 23, 2016

Avocado Delight


This was a totally bizarre recipe creation for me. I had never heard of this or had this combination of ingredients, but one morning I woke up with the most incredible craving for it. I could almost taste it in my mind! I had to get the ingredients just to make it! This combination of ingredients left me a little hesitant at fist, but it was a palooza of "wow!" in my mouth right from the first bite!

If you are following Trim Healthy Mama, this makes a wonderful S meal! Be a little adventurous and try a little "Hello!!" today! I hope you enjoy!

Avocado Delight
2 slices of bacon
2 avocado wedges
1/2 c low fat cottage cheese 
1 T salsa
Salt and pepper 

Fry the bacon until crispy, and then let the slices drain on paper towels. In the same pan, while the bacon grease is still hot, fry the avocado slices a few minutes on each side. I actually fry the avocado slices in the same pan as my bacon cooks to save time. When the bacon is cool enough to handle, crumble the slices and spread in a ring. In the middle of the ring, mound the cottage cheese. Sprinkle on salt and pepper. Top it with one tablespoon of salsa. I like to use my homemade salsa, but your favorite salsa will work perfectly! Top the salsa and cottage cheese with the avocado slices, and viola! You have your avocado delight! Your taste buds will thank you!

My friend, Appie, likes to finish hers with a little extra zing of lime juice. Go for it, and own it!

Until we meet again, be blessed! 💕


Swamp Cabbage


For a while my husband worked in Texas. He and a few other guys rented a place together and would take turns cooking supper. One of the guys was originally from Louisiana. On that guy's first night to cook, I got a text from my husband saying his friend was going to send me the recipe. My husband said I HAD to save it, and cook it for him.

Indeed, his friend sent the recipe, and it was quite easy: Fry your favorite ground sausage and drain. Pour in one can of Rotel and one head of chopped cabbage. Cook until cabbage is done.

I made it that was several times, but it just was lacking "something."  Last night, I made it, and I couldn't stand it any longer. I had to add my touch. Oh my! It finally had the "something" it needed. Today, I give to you

Swamp Cabbage 
2 lbs. Regular Jimmy Dean Sausage
2 cans mild Tomatoes with chilis 
2 heads of cabbage, chopped
1 c frozen seasoning blend 
1-1/2 t garlic powder 
1-3 t salt, to your taste
4 T butter 

In a large stockpot, brown the sausage and drain, if needed. Add the remaining ingredients and mix well. Cook until the cabbage is soft, stirring occasionally to prevent any sticking or burning. Enjoy as is (especially if you are doing Thm!) or with your favorite southwestern style cornbread!

Until we meet again, may you be blessed!💕

Monday, August 22, 2016

Muscadine Jelly


Hi friends! Today's recipe is one I wanted to share with you last summer, but when I made it last year, I forgot to take pictures. Alas, I had to wait to make it again this year so I could get the pictures and share it with you.

The little beauties above are eight half pints of muscadine jelly. Earlier today, I posted a picture of the muscadines on Facebook stating that for this southern girl, it might as well be a bowl full of decadent chocolates. It is so true! I LOVE muscadines! It is also true that muscadine jelly is the favorite jelly of my household. I hope you enjoy the recipe!

Muscadine Jelly 
5-6 lbs fresh muscadines for extracting 5 c juice
1 box regular pectin 
6 c sugar 

Place 6-8 half pint jars in the canner. Place the lid on the canner and turn the heat up to start sterilizing jars as you work. Boil jars for ten minutes. When my jars have boiled for ten minutes, I turn the heat down to low to keep them hot until I am ready for them.

Wash grapes (Muscadines are wild grapes.), making sure to remove any stems or leaves.


Place the muscadines in your pan. Turn the heat up and begin mashing the grapes as you stir. 


Carefully bring the grapes up to a slow boil as you continue to mash and stir. Turn the heat down and simmer 10-15 minutes as you continue mashing and stirring to extract the juice and break down the pulp some.


If you don't have a food mill, really mash those berries! You want to get as much juice out as you can. Remember, you need five cups of juice for the jelly. If you do have a mill, run the muscadines through. 


You can use the juice at this point, but I filtered mine through cheesecloth first. 


At this point, I only got 4-1/2 cups of juice. Lucky for me, up to a half cup of water can be added. 😊 


At this point, I stopped to make sure I had everything set up for once the jelly was done. Jelly is something you can't stop once you start, and you need to move quickly once it's done. I've learned from experience to make sure everything is set up and ready to go. There is a pot holder to sit the pan of hot jelly on. The towel is laid out to place my hot jars that are in the canner on, the lids are behind the canner in a pan of warm water, the rings are behind the towel, and the magnetic lid lifter is on the stove beside the knob. My funnel and a moist paper towel for wiping jar rims can't be seen in the photo. The sugar is all measured out. I removed 1/4 c of the sugar and mixed the pectin in it. That's what is in the blue measuring cup. There was an extra box of pectin just in case my jelly wasn't setting and I needed to add extra. The stock pot is on the stove ready to go. Let the fun begin!!


This part of jelly recipes is always lacking in good pictures simply because you have to move quickly and stir constantly. Poor the juice into the stock pot. Slowly pour in the pectin mixture, stirring as you pour. Bring the mixture up to a rolling boil, a boil that cannot be stirred down. 


See? Not too much to see there! So sorry! At that point, though, pour all the sugar in at once. 


Stir the mixture constantly, and bring it back to a rolling boil. Once it is at a rolling boil, boil exactly one minute. Immediately remove the jelly from the heat and onto the waiting potholder. Quickly remove the hot jars from the canner and onto the towel. I quickly skimmed a little foam from the top of the jelly. This year, though, I tried a new method of scooping up the jelly in my ladle and skimming the foam from that. It worked so much better and was so much quicker. Each jar was filled to 1/4 inch headspace. Well, I tried, anyway! 😄 At this point, I skimmed any excess foam from the top of individual jars. The rims were wiped clean, and the jars were sealed.


The jars were placed back in the canner with one to two inches of water covering the tops of the jars. The water was brought up to a rolling boil with the canner lid on, and the jelly was processed for five minutes. One more reason to love jelly! It's so quick! Once the five minutes are up, turn the heat off, and remove the canner lid. Let the water come to a full rest for about five minutes. Then remove the jars with a jar lifter. Place the jars on a doubled towel in a draft free area. Do not disturb the jars for at least 24 hours.

When it is all done, you should be left with beautiful little jars of jelly! 


Until we meet again, may you be blessed! 💕 
*To ensure the safety of your canned foods, make sure to follow safe canning guidelines issued by the USDA.

Monday, August 15, 2016

Spicy Pickled Cauliflower


Hi, y'all! The other day was another new recipe day!

A while back we had a pipe burst causing us to have to have our floors replaced. One super nice young fellow who had grown up on a farm came to measure and was in awe of all the jars in the pantry. He told me how his family in Pennsylvania ships down a case of spicy pickled cauliflower every Christmas. He made it sound so yummy, I began a search for a recipe that day! There are very few spicy pickled cauliflower recipes out there! I never did find one certain recipe I really liked so I just made one my own.

This is the link to the original recipe. Doesn't that look pretty? This recipe was so very close to what I was looking for, I made very few changes. I couldn't not give credit to the original. 😊

Spicy Pickled Cauliflower 
4 t coriander seeds
4 t yellow mustard seeds 
2 t cumin seeds
4 t black peppercorns 
2 t ground turmeric 
1 t red pepper flakes
1/2 c sugar 
8 c apple cider vinegar 
4 c water
20 cloves garlic 
2 small onions thinly sliced
2 small-medium heads cauliflower chopped into florets
2 red bell peppers seeded and diced into large pieces 

In a large saucepan, combine all the ingredients except the garlic cloves and vegetables. (Note: the onions can be added to the brine. I had never done it that way, so I tried it for this recipe. In the future, I will not put them in the brine.) Heat the brine to boiling. Add all the chopped vegetables to a large bowl and toss together. When brine is hot, pack the vegetable mixture into hot jars leaving 1/2 inch headspace. Pour hot brine over the vegetables in the jars leaving 1/2 inch headspace. Wipe the jar rims clean with a damp cloth or paper towel. Seal the jars. Place the jars in the canner making sure the jars are covered with at least one inch of water. Bring the water to a rolling boil. Process pints and half pints for 10 minutes once the water comes to a boil. 

This is what I did. After preparing my canner and heating my jars, I prepared my brine. I love making brings. They are so quick and easy. Here it is ready to go.


Next, I chopped up the vegetables and tossed them together in a big bowl.


Then I got my jars out and divided the garlic cloves between them.


The vegetables were then packed snugly into the jars.


The hot brine was then poured over the vegetables leaving a half inch headspace.


Lastly, the jars were sealed and processed.


When I was done filling the jars, there were a lot of onions left in the brine. I didn't want to waste them, so using a slotted spoon, I spooned the onions into a pint jar. The jar was filled with the hot brine leaving a half inch headspace. I processed the jar for ten minutes just like the cauliflower and peppers.


Aren't they little jewels? I love taking a peek at them when I walk through my pantry. The best part of this recipe is that the only thing that is hard about this recipe is waiting a couple weeks to try it!

I hope you enjoy it!

Until we meet again, may you be blessed!

*To ensure the safety of your food, be sure to follow all the safe canning guidelines issued by the USDA. 

Saturday, August 6, 2016

Basil Banana Pepper Jelly


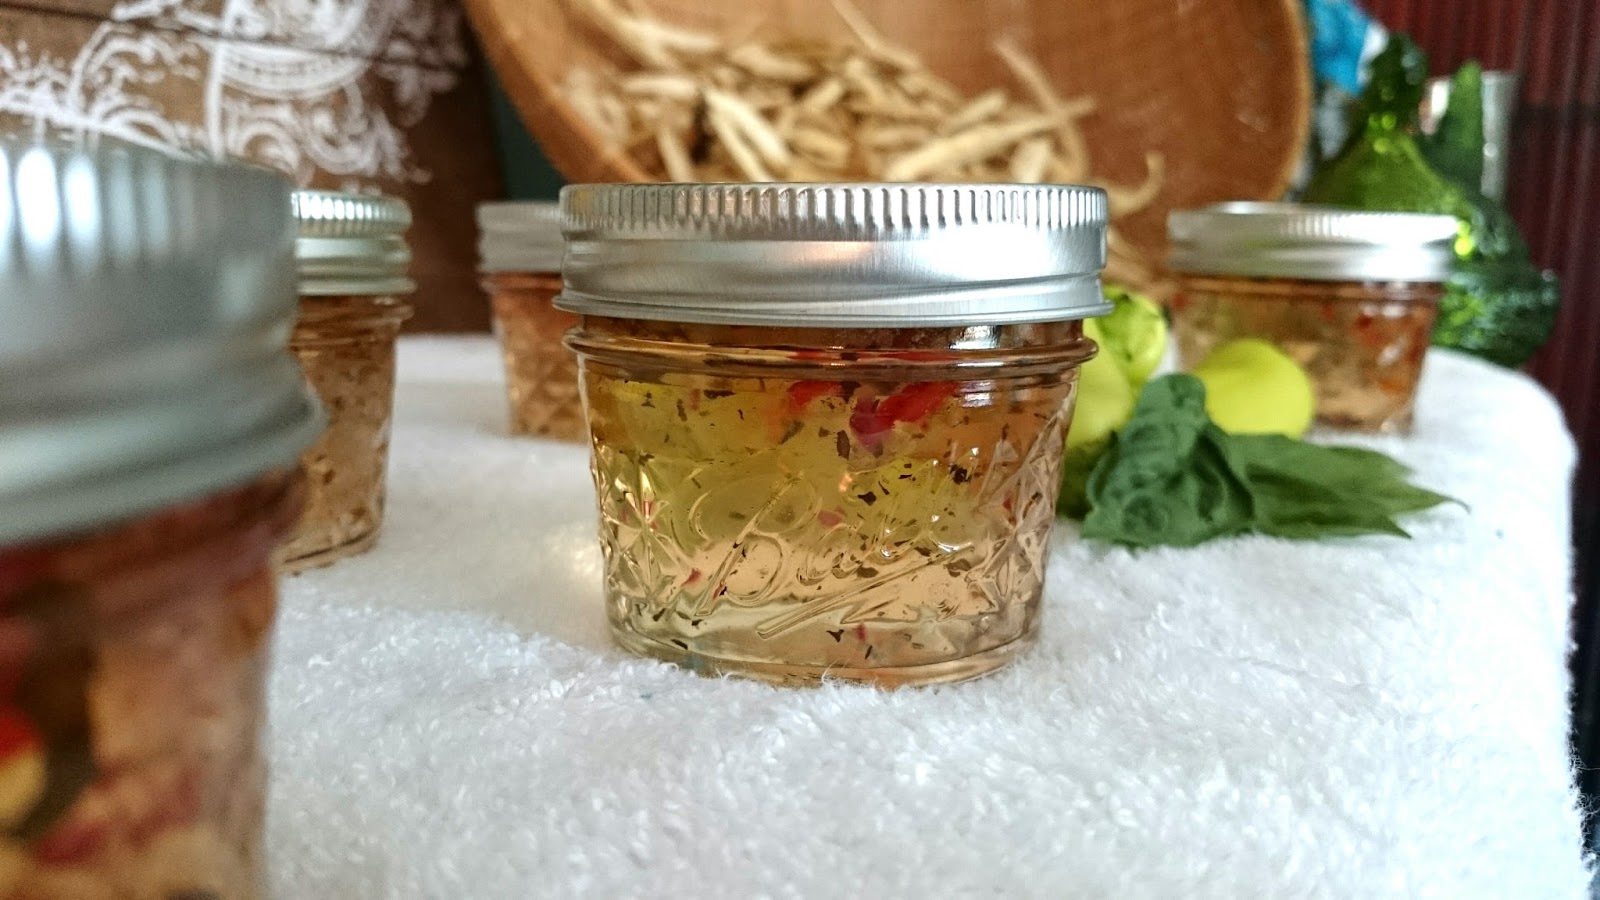
I planted basil and banana peppers in the garden this year. Both have done really well, and I couldn't wait to make this jelly. We love pepper jelly around here. This recipe makes a very beautiful jelly.

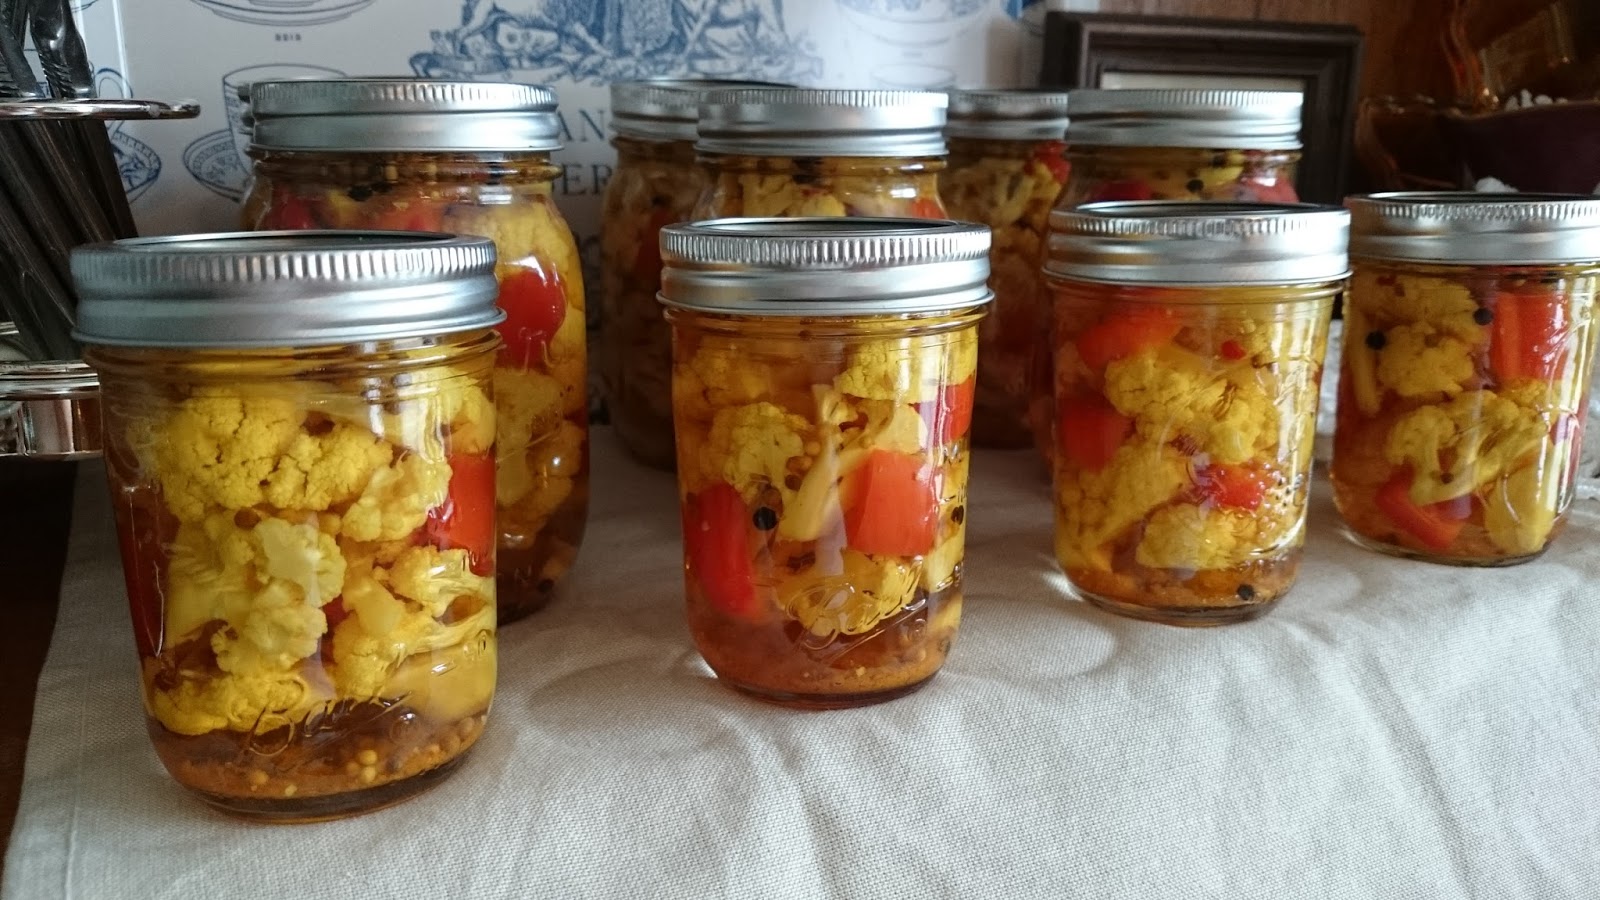
Isn't that just one of the loveliest things you've ever seen!?

Before I give you my adventure in pictures, I'll give you the recipe.

Basil Banana Pepper Jelly 
1/2 c thinly sliced and seeded hot banana peppers 
1/4 c seeded and thinly sliced hot red peppers
1/4 c finely chopped red onion
4 large basil leaves cut into thin ribbons
1/4 t dried basil
3/4 c white vinegar 
3 c granulated sugar
1 pouch liquid pectin 

Prepare the canner, jars, and lids. In a large saucepan, combine the peppers, herbs, and vinegar. Stir in the sugar. Place the pan on high heat, and bring the mixture to a rolling boil. Stir in the pectin quickly. Bring back to a rolling boil, stirring constantly. Boil exactly one minute. Remove the pan from heat. Quickly skim off any foam that has formed. Then quickly pour the jelly into hot jars. Clean the rim of each jar, and seal them with a lid and ring. Place the jars back into the canner, making sure they are covered by at least an inch of water. Place the lid on the canner, and bring the water up to a rolling boil. Process pint and quarter pint jars for ten minutes. After ten minutes, turn off the heat and remove the canner lid. Let the water rest for about five minutes before removing the jars with a jar lifter. Place the jars on a doubled towel to rest for 24 hours. See the description below for tips on suspending the particles in the jelly.


Before I got started on this recipe, I prepared my jars in the canner. I started heating them so they would come to a boil and boil ten minutes before I was ready to use them. Once they boiled ten minutes, I turned the heat down and left them in the canner so they would stay hot until I needed them. While they boiled I got busy preparing the ingredients.

I seeded and chopped the peppers and onion. Next, I stacked and rolled four large basil leaves in a tube and sliced them into thin ribbons. I placed all these ingredients plus the dried basil into a large saucepan.

When it looks this pretty
This early in the process,
I can't help but get excited!

To this, I added 3/4 of a cup of white vinegar.


To that, I stirred in 3 cups of granulated sugar.


Next, this was placed on the stove. In the photo, you can see I have everything ready and waiting for when I pull the hot jelly off the heat. The lids are in a small pan behind the enamel canner.

To keep my pectin from spilling before I need it,
I place it in a cup by the stove as shown. Works like
A charm!

The mixture was placed on high heat, and stirred constantly, (except when I took this photo! 😜) until it came to a rolling boil. Then the pectin was stirred in, stirred constantly as it returned to a rolling boil, and was boiled exactly one minute.


The jelly was removed from the heat after it had boiled one minute. There was a lot of foam on the jelly.


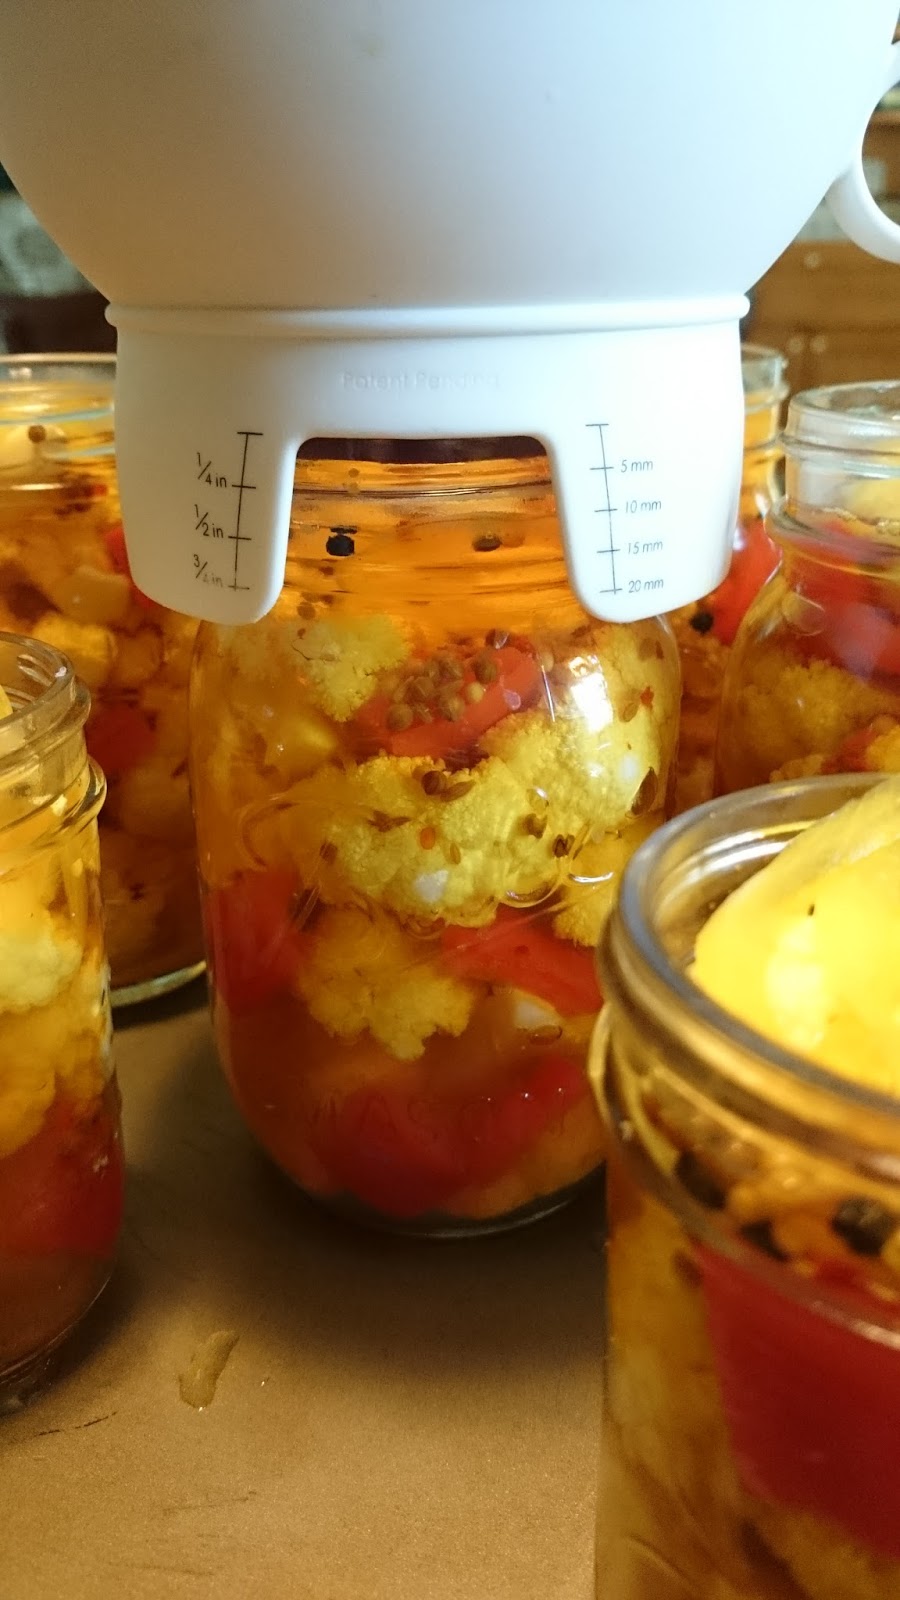
The foam was quickly skimmed off. Then the jelly was quickly poured into hot jars, leaving 1/4 inch headspace. The jars were sealed with a lid and a ring. The jars were then placed in the canner with an inch of water covering the jars. The lid was placed on the canner, and the water was brought up to a rolling boil. The jars were processed for ten minutes. After ten minutes, the heat was turned off, and the lid to the canner was removed. I let the water come to a rest for about five minutes before I removed the jars from the canner and placed them on a doubled towel for 24 hours. I did let them cool for about thirty minutes and made sure the lids were concave before I gently tilted and twisted them to distribute the particles of herbs and peppers.  I did this a couple times, every few minutes, until the particles were nicely distributed.  Normally, with regular jellies or other canned items the jars shouldn't be disturbed.


Happy canning!!

Until we meet again, may you be blessed!
*To ensure the safety of your canned foods, make sure you follow all safety guidelines issued by the USDA.

Friday, August 5, 2016

Italian Herb Jelly


This has been a really fun summer for exploring and trying new canning recipes. I have many new recipes to add to my forever repertoire. I had to take a break from all the canning, though, to share a few of the recipes with you so I could get the pictures off my phone and free up some space! 😁

This recipe is one of those recipes. I must admit, though, I really didn't think I was going to like it. In fact, I didn't even take pictures for a picture tutorial. I apologize! 😊 I know I'll make it again, so maybe then I can come back and add pictures. As far as liking it, it has turned out to be one of my favorites. I like to eat it on garlic toast with spaghetti or lasagna. Without further adieu, I give to you my version of herb jelly.


Italian Herb Jelly 
.5 oz chives
.5 oz thyme sprigs 
3/4 t dried oregano 
1 c loosely packed fresh basil leaves
1 c loosely packed fresh parsley
1-1/2 c unsweetened apple juice
1 c water
1 c white wine vinegar 
1 package regular powdered pectin 
5-1/4 c granulated sugar 
*I know those are odd measurements for the chives and thyme, but that was the measurement for the spices that come in the little plastic containers in my produce section. 😊 

In a saucepan, make the herb tea by combining the herbs, apple juice, water and vinegar. Bring the mixture to a boil. Remove the pan from the heat, and let it steep for 15 minutes.  Stir and press the herbs to release flavor. 

Strain the mixture over a bowl using a jelly bag or cheese cloth. Let it drip for at least 30 minutes.

I used that time to prepare my jars, canner, and lids. I still boil my jars and leave them in the hot water until I'm ready to place the jelly in the jars.  I also measured out the sugar and got the pectin ready.

After thirty minutes, measure out 3-1/4 cup of the herb tea. Pour that into a large, clean saucepan. Dissolve the pectin in the tea by whisking it in. Bring the mixture to a boil using high heat. Once at a boil, pour the sugar in all at once. Stir continuously, and bring it back to a full boil. Once at a boil, boil and stir exactly one minute. Remove the jelly mixture from the heat. Work quickly to skim off the foam. Pour the hot jelly into the hot jars. Leave 1/4 inch headspace. Seal the jars with a flat lid and ring. Place the jars in the canner making sure the jars are covered by one inch of water. Bring the water to a boil and process the jars for 10 minutes. Remove the jars from the canner after the water has settled for about five minutes. Using a jar lifter move the jars to a doubled towel in a draft free area. Do not disturb the jars for 24 hours.

I hope you enjoy the recipe!

Until we meet again, may you be blessed! 

*To ensure the safety of your canned foods, please follow all the guidelines for safe canning issued by the USDA.

Thursday, August 4, 2016

Hot Pickled Banana Peppers


Last year I shared with you my story of how I made pickled banana peppers. I was so excited to share them with my husband, but he doesn't like sweet pickled things. Since I don't eat pickled peppers, I had no clue how they should taste. He loved the flavor. He just couldn't handle the sweetness. He wanted me to make them again this year using the exact same recipe without the sugar, so that's what I did. He absolutely loves them. He and my son are eating a whole jar with every two meals that lends itself to such a side! Just tonight, he told me I needed to can a lot more to make sure he had enough to last until next year-there are nine jars in the pantry now. 😮

Anyway, I thought I would share this recipe again just to make the distinction that some pickled peppers are sweet and some are not. This recipe is for peppers that are not. The picture tutorial can be found above in the link to last year's recipe.

Pickled Hot Banana Peppers
4 c water
4 c white vinegar
1/2 t turmeric
1 t mustard seeds
1 t celery seeds
1 clove of garlic for each jar
1/2 t salt for each jar
As many hot banana peppers as you wish to process sliced into rings.

In a large pan, bring the water, vinegar, mustard seeds, and celery seeds to a boil. (This brine may need to be multiplied depending on how many peppers you wish to process.) Pack hot jars with peppers leaving 1/4 inch head space. To each jar of peppers, add one clove of garlic and 1/2 teaspoon of salt. Pour hot brine over peppers to 1/4 inch headspace. Seal and process in a boiling water bath for 10 minutes.

Happy canning! 

Until we meet again, may you be blessed! 
*Follow USDA canning guidelines to ensure safety of all home-canned foods.

The Dusty Gardener, Pickled Squash and Zucchini


Some people are wonderful at writing novels and creating a trilogy with their stories. Not me, stories get jammed in my head and come out as recipes instead. 😄

I have shared with you the Dusty Cowboy and Dusty Farmer Zukes. In the not so elaborate trilogy stuck in my head, The Dusty Cowboy and Dusty Farmer Zukes got in a pickle, and the Dusty Gardener came to be. Yep, I think I had become delirious at this point from days and days of constant canning. 😀

Whatever the case, I present to you The Dusty Gardener. It is exactly like the other two recipes except that the squash and zucchini are combined. My Facebook friend, Fredna, suggested adding colored pepper strips. I think those would also be beautiful additions. I just don't like the taste of peppers. My husband does, though, so I think I will try it next time.


The Dusty Gardener 
4 pounds mix of summer squash and         zucchini 
1 medium onion 
1/4 c salt
2 T cumin seeds
1 T yellow mustard seeds 
2 t red pepper flakes 
1 t ground cumin 
1 t chili powder
1/2 t paprika
6 cups apple cider vinegar 
2 T honey
1-1/2 c water
7 cloves garlic 

Wash and cut the squash and zucchini into quarter inch rounds. Cut onion into thin half circles. In a large bowl, layer the squash, zucchini, and onion. Sprinkle the layers lightly with the 1/4 cup of salt as you go. Toss all the layers together when done to make sure the squash, zucchini, and onions are covered well. Cover mixture with a layer of ice and refrigerate at least eight hours. I left mine overnight. Prepare seven or eight pint jars. Keep them hot in the canner. After the mixture has rested in the refrigerator, remove unmelted ice and rinse the mixture well under cold water. Toss the mixture with the cumin seeds, mustard seeds, pepper flakes, cumin, paprika, and chili powder. Sit this to the side. In a stainless steel pot, combine the vinegar, honey, and water. Heat this mixture until it is hot. As this is heating, remove jars from the canner, and place them on a folded towel lining a baking sheet. Place one clove of garlic in each jar. Quickly pack the jars with the squash, zucchini, and onion mixture. Fill the jars with the vinegar mixture, leaving 1/2 inch head space, and make sure to remove air pockets. Wipe the jar rims clean and seal the jars. Place the jars back into the canner making sure the jars are covered by at least an inch of water. Place the lid on the pan. Bring the water to a rolling boil. Process the jars for 15 minutes. When the time is up, turn off the heat, and let the water come to a rest for about five minutes. Remove the jars carefully with a jar lifter, and place the jars on a doubled towel in a draft free area. Do not disturb the jars for at least twelve hours. 

Until we meet again, may you be blessed! 💕 
To ensure the safety of your food, make sure to follow safe canning guidelines issued by the USDA.


Dusty Farmer Zukes


Yesterday, I shared with you the Dusty Cowboy Squash. This recipe is just like that, except that the recipe calls for zucchini instead of squash. The common nickname for zucchinis is zukes, right? Well, that reminded me of an Amish last name, and many Amish farm. Thus, the name for this recipe was born! 😊 I told you the mind of one canning can get lost on some winding trails sometimes! Today, I give to you....

Some of my garlic cloves were big and some were
small. For those that were small, I added two cloves
to the jar.

Dusty Farmer Zukes 
4 pounds zucchini 
1 medium onion 
1/4 c salt
2 T cumin seeds
1 T yellow mustard seeds 
2 t red pepper flakes 
1 t ground cumin 
1 t chili powder
1/2 t paprika
6 cups apple cider vinegar 
2 T honey
1-1/2 c water
7 cloves garlic 

Wash and cut the zucchinis into quarter inch rounds. Cut the onion into thin half circles. In a large bowl, layer the zucchini and onion. Sprinkle the layers lightly with the 1/4 cup of salt as you go. Toss all the layers together when done to make sure the zucchinis and onions are covered well. Cover mixture with a layer of ice and refrigerate at least eight hours. I left mine overnight. Prepare seven or eight pint jars. Keep them hot in the canner. After the mixture has rested in the refrigerator, remove unmelted ice and rinse the mixture well under cold water. Toss the mixture with the cumin seeds, mustard seeds, pepper flakes, cumin, paprika, and chili powder. Sit this to the side. In a stainless steel pot, combine the vinegar, honey, and water. Heat this mixture until it is hot. As this is heating, remove jars from the canner, and place them on a folded towel lining a baking sheet. Place one clove of garlic in each jar. Quickly pack the jars with the zucchini and onion mixture. Fill the jars with the vinegar mixture, leaving 1/2 inch head space, and make sure to remove air pockets. Wipe the jar rims clean and seal the jars. Place the jars back into the canner making sure the jars are covered by at least an inch of water. Place the lid on the pan. Bring the water to a rolling boil. Process the jars for 15 minutes. When the time is up, turn off the heat, and let the water come to a rest for about five minutes. Remove the jars carefully with a jar lifter, and place the jars on a doubled towel in a draft free area. Do not disturb the jars for at least twelve hours. 


Until we meet again, may you be blessed! 💕 
To ensure the safety of your food, make sure to follow safe canning guidelines issued by the USDA.

Wednesday, August 3, 2016

The Dusty Cowboy Squash


Working in the kitchen during canning season can be a long and lonesome adventure. Often the canner's mind can get lost on some long and winding trails.

Such was the case when I was working on the recipe. The name just came to me on one of those trails. I was loading in spices, and it reminded me of a recipe called Cowboy Candy. No one here eats that stuff because it is sweet. However, even though it is not sweet, something about this recipe reminded me of that. As I spooned in the last two spices of paprika and chili powder, I knew the Cowboy had taken a Dusty and trail and the name was born. 😄


So, let's get along little doggies! There is a recipe to be shared.

Dusty Cowboy Squash 
4 pounds summer squash 
1 medium onion 
1/4 c salt
2 T cumin seeds
1 T yellow mustard seeds 
2 t red pepper flakes 
1 t ground cumin 
1 t chili powder
1/2 t paprika
6 cups apple cider vinegar 
2 T honey
1-1/2 c water
7 cloves garlic 

Wash and cut the squash into quarter inch rounds. Cut onion into thin half circles. In a large bowl, layer the squash and onion. Sprinkle the layers lightly with the 1/4 cup of salt as you go. Toss all the layers together when done to make sure the squash and onions are covered well. Cover mixture with a layer of ice and refrigerate at least eight hours. I left mine overnight. Prepare seven or eight pint jars. Keep them hot in the canner. After the mixture has rested in the refrigerator, remove unmelted ice and rinse the mixture well under cold water. Toss the mixture with the cumin seeds, mustard seeds, pepper flakes, cumin, paprika, and chili powder. Sit this to the side. In a stainless steel pot, combine the vinegar, honey, and water. Heat this mixture until it is hot. As this is heating, remove jars from the canner, and place them on a folded towel lining a baking sheet. Place one clove of garlic in each jar. Quickly pack the jars with the squash and onion mixture. Fill the jars with the vinegar mixture, leaving 1/2 inch head space, and make sure to remove air pockets. Wipe the jar rims clean and seal the jars. Place the jars back into the canner making sure the jars are covered by at least an inch of water. Place the lid on the pan. Bring the water to a rolling boil. Process the jars for 15 minutes. When the time is up, turn off the heat, and let the water come to a rest for about five minutes. Remove the jars carefully with a jar lifter, and place the jars on a doubled towel in a draft free area. Do not disturb the jars for at least twelve hours. 

Until we meet again, may you be blessed! 💕 
To ensure the safety of your food, make sure to follow safe canning guidelines issued by the USDA.