I love my God and Savior! When I am working outside in the garden, I can't help but feel so blessed and thankful as the little birds light on the fence, arching their little necks this way and that as they curiously watch what I am doing while others flit around and chirp with them while at the bird feeders just behind them all while even others are singing beautiful songs in the trees just beyond the garden. It is such a peaceful, beautiful time spent there. If I go outside early enough or stay out late enough, the whippoorwills' calls fill the air. I am so thankful for the life God has given me. Even if my plants don't do well, to spend time in my garden is worth the effort.
I have been working so much there, I haven't stopped to update here. It is still dark outside now. The roosters are crowing and the whippoorwills are squeezing in a few calls. I figured I better go ahead and post or another day was going to pass before I gave an update.
This year we added another thick layer of woodchips and expanded the garden all the way to the fence on all sides. That was hard work with a shovel and wheelbarrow! My little boy worked so hard helping me! He and I covered most of the original area over a few days before my husband came home. Then my husband helped me finish. Boy, were we ever grateful to be done! I still prefer doing that than pulling up weeds for hours upon endless hours!
 |
We even added a little area
Outside the fence for flowers. |
I waited a couple weeks until I couldn't stand it any longer. I cheated and bought some plants to put in the garden. I normally like to start my own from seed, but since I didn't think I was going to have a garden, I didn't have any plants ready. I got spinach, kale, chives, leeks, onions, and three different types of lettuce. I even got potatoes; I guess, technically, those were seeds! In those couple weeks I was
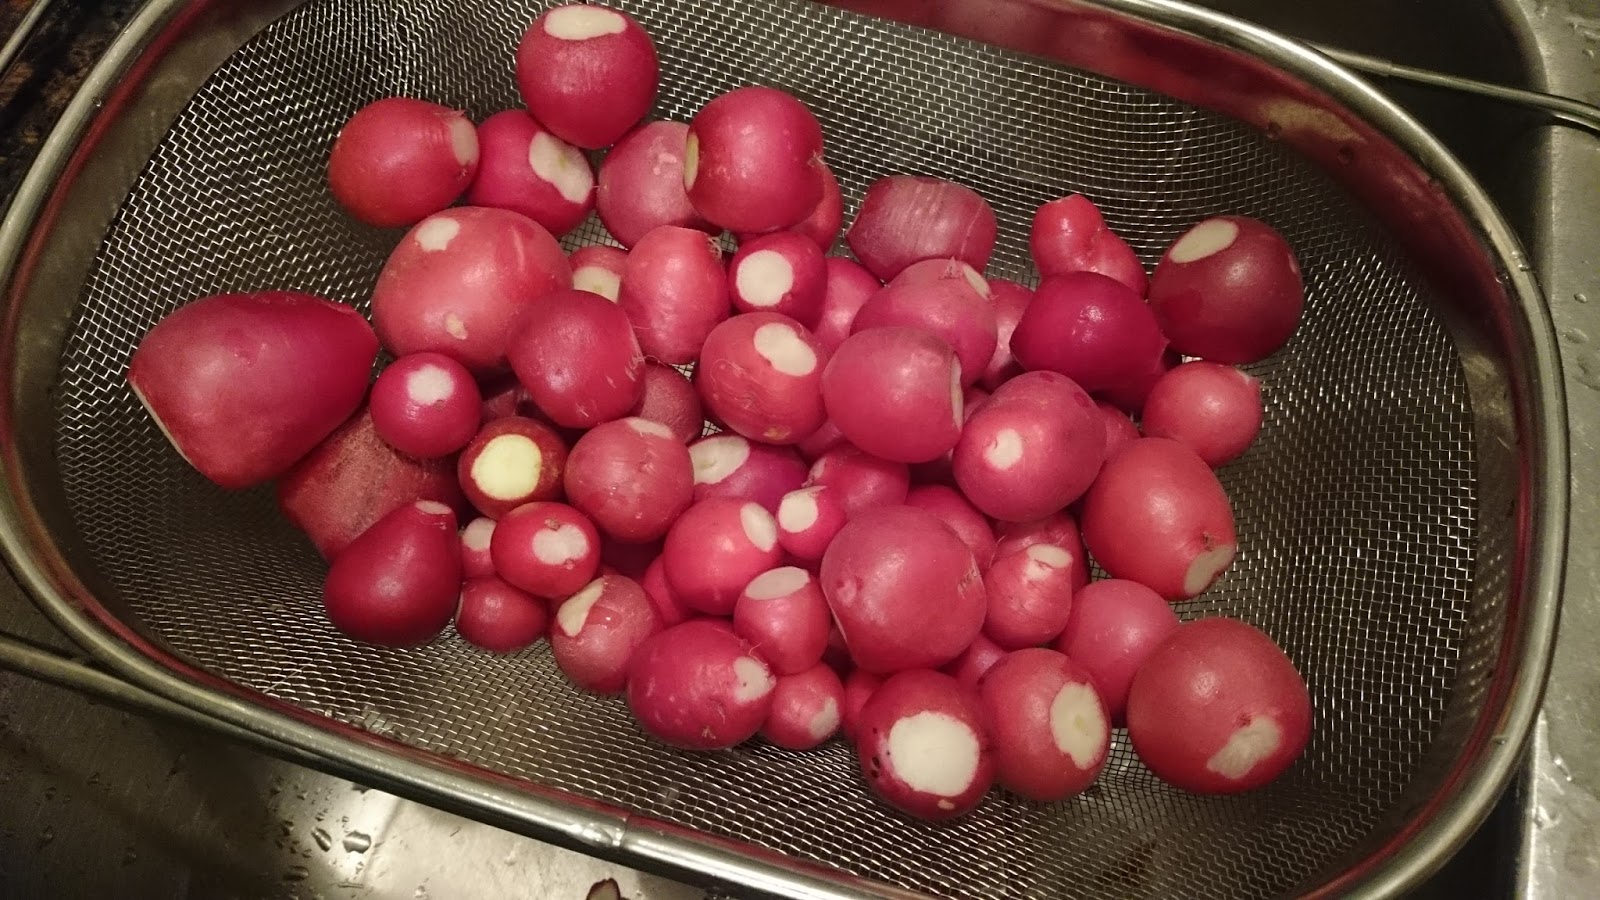
patiently impatiently waiting, I was able to order some seeds. I did use my seeds to sow two different types of radishes and two different types of carrots.
 |
I ordered a few seeds from other
Companies, but Baker Creek
remains my favorite! Can you tell? |
As those grew, I started tomatoes, peppers, herbs, cantaloupes, cucumbers, squash, zucchini, and marigolds. I experimented and made a Turbo Booster for my plants. This will be my first year using anything other than Azomite on my garden. *edit: my husband did use something for his corn last year. I had forgotten about that, but then that part of the garden didn't have chips.* I had my soil tested and was surprised how much just having the woodchips has improved my soil, but because the original soil was pretty much dead, acidic sand, I realized through lots and lots of reading and watching videos that I need to feed life into my soil. Everything I put into my Turbo Booster is organic and designed to feed the soil and plants. You can see the picture below for the ingredients I put in it. After making it and using it on my seedlings, I discovered Biochar and my need to raise my soil pH. I am using oyster shell for that. I decided against the high calcium lime, and I couldn't find potash.


We had so many cold spells that prevented me from putting the plants in the garden, I didn't think I would ever get them hardened off and planted! All the peppers, tomatoes, basil, and lemon balm got so big, I had to put them in pots. That is the first year, I have had to do that. It's also the first year, I have had really healthy, sturdy seedlings. They got so big in the waiting process I thought I was going to have to put them in even bigger pots!
Thankfully, though, I have been able to get them in the garden without having to do that. As of now, all the cucamelons, tomato, and pepper seedlings are planted and surviving. I planted my cucumber, cantaloupe, squash, and zucchini seedlings after checking the forecast in several places to make sure there was no chance of frost a few days before Easter. Every place I looked had forecasted temps in the mid forties. I'm sure you can guess what happened. It got so cold even the water in my water hose froze! Grrr! Lol! Only two bush cucumber plants survived. Soooo...all the seeds for those seedlings I lost have been sown directly in the garden along with the three different types of okra, yellow and red water melons, gourds and cape gooseberries. This morning my husband helped me prepare the soil for four different types of pumpkin seeds I will sow in two weeks. The potatoes and corn are also growing really well.
 |
Getting ready to transplant! The
The plants in the back are onions
I am letting go to seed. |
 |
| Rat's Tail Radishes |
 |
We are trying the Florida Weave
To trellis our tomatoes this year. |
 |
Believe it or not, my peppers,
Some tomatoes, corn, and a
Cucumber bush are in this photo. |
 |
Rat's Tail Radishes
Are producing! |
 |
| Yukon Gold potatoes |
In addition to vegetables, I am attempting flowers again. So far, I only have two different types of sunflower seeds planted. I did find two rose bushes on clearance for less than three dollars, so I also have my first rose bushes planted! We had a fig tree we planted this year, but an armadillo decided he needed to dig right beside it and knock it over. I still don't know if it will survive. We are also waiting to see if our pecan trees will survive our crazy conditions.
The fun continues! I will post updates as I am able. I am praying there are a lot of eating and canning from my garden in the days ahead! What do you have in your garden? I would love to hear what you have been up to!
Until we meet again, may you be blessed!