
This picture shows my result so far after making pear sauce. So far, I have made two batches of pear jelly, at least I hope it turns into jelly. If not, I have made two batches of pear syrup! Each batch made nine and a half 8oz. jars. I still have enough juice to make two more batches. Unfortunately, I ran out of sugar, so I will have to go back to the store to get more in the morning.
When I am ready to make jelly, the first thing I always do is sterilize my jars in my water bath pan. When they are done, I turn the eye down to low and leave my jars in the water until I am ready to pour the jelly into them. This way they are hot and sterile when I am ready, so that is how I began my pear jelly.
In yesterday's post about pear sauce I discussed how I got juice from cooking my pears all day. That juice was left in the pan in the refrigerator all night. All of the solids settled to the bottom. I removed the pan from the refrigerator very gingerly so as to not cause the solids to mix back into the juice. This wouldn't hurt the jelly, it would just cause it to be cloudy.

If you look closely, you can see the solids on the bottom that have separated from the juice. I ladled the clear juice slowly and carefully into five cup measurements. Five cups of juice is what is needed to make one batch of jelly. Next I gathered my other ingredients: 7-1/2 cups sugar, 3 T lemon juice, and one pouch of Certo liquid pectin.

The sugar and lemon juice were mixed into the pear juice as soon as it was put on the stove. I also added 1/2 teaspoon of butter to reduce foaming.

The mixture looks very cloudy, but it will turn clear as it heats up. Just keep stirring!

I tried to get a good picture of how it turns clear again, but it is hard when the flash reflects off the steam!

Once the mixture comes up to a boil that can't be stirred down, quickly pour in all the pectin at once. Stir constantly.

Once the mixture is back up to a rolling boil, time for exactly one minute. Remove the pan from the heat, and ladle the jelly (or syrup) into the hot jars, leaving a 1/8 inch head space.
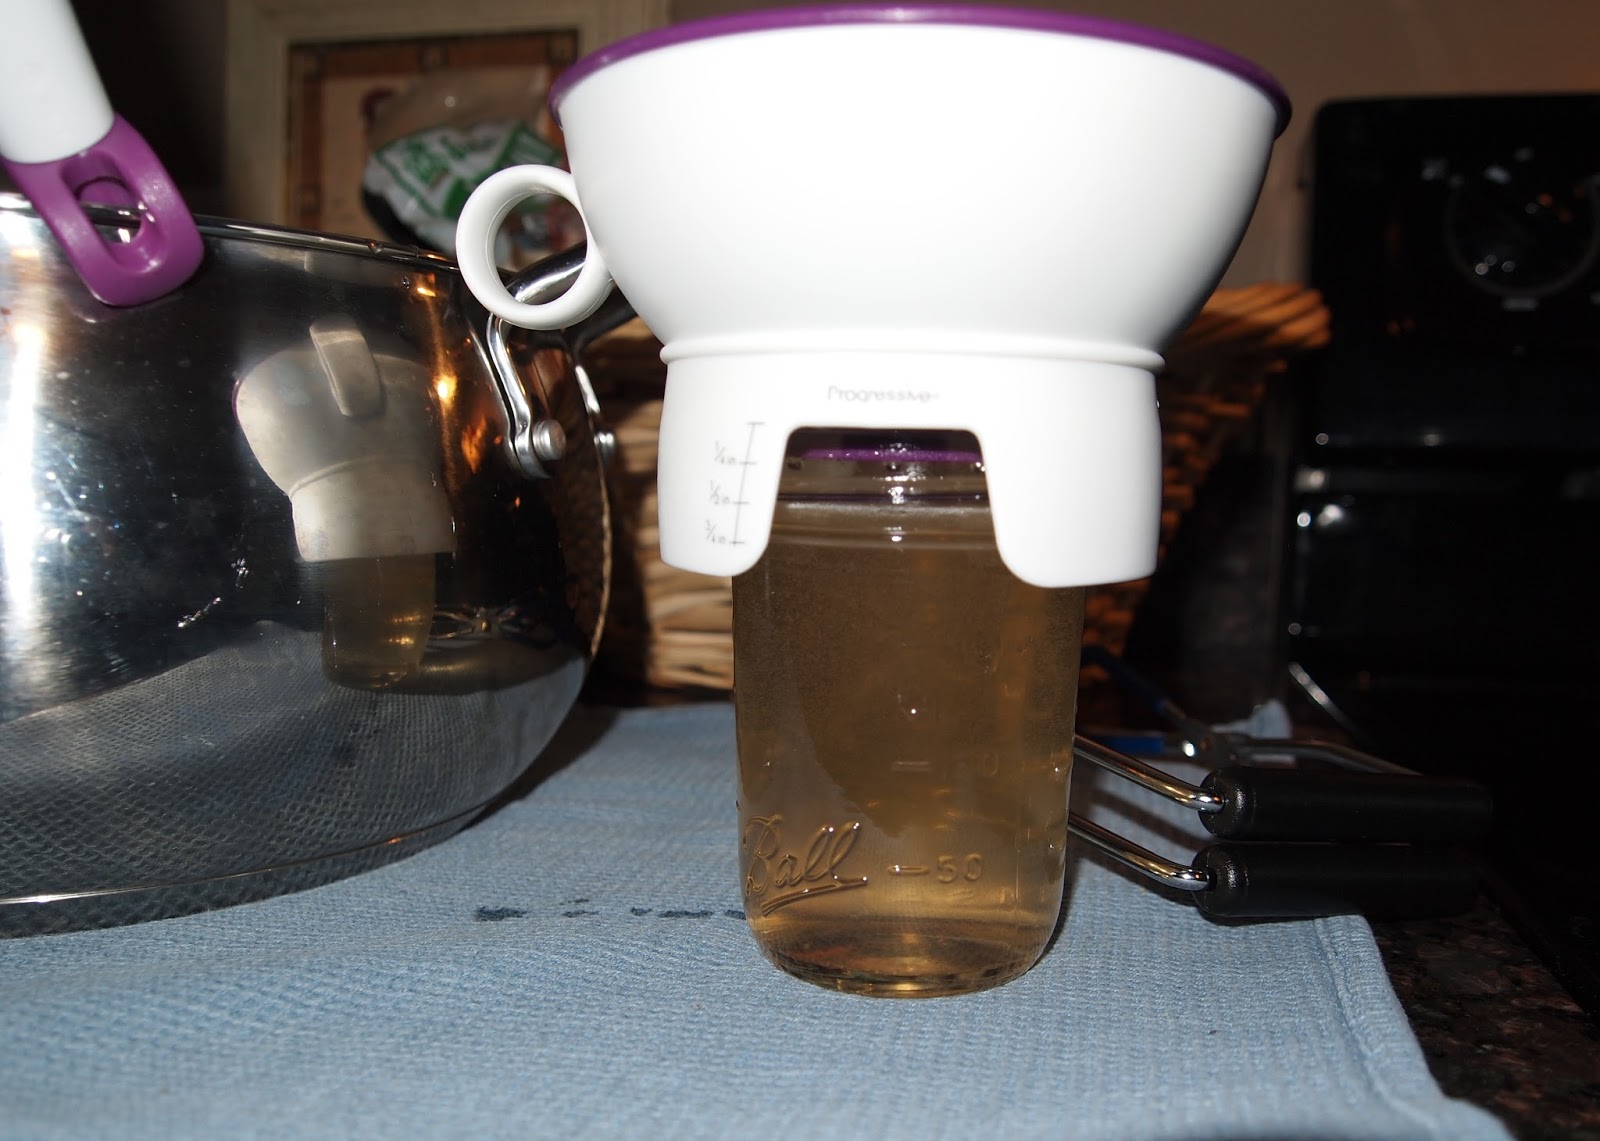 |
| Looks like this jar could have used just a tad more jelly! |

Process the jars for 10 minutes in the water bath. Remove the jars from the canner and sit in a draft-free area to cool. Do not touch them for 24 hours. If you have a jar that doesn't seal, put it in the refrigerator and use it first. Happy canning!
Until we meet again, may you be blessed!
* To insure the safety of your canned food, always follow the USDA's rules for safe canning techniques.
No comments:
Post a Comment