Saturday, September 7, 2013

Hot Pickled Okra


Don't miss the updated blog post here!

I also have a YouTube video for this recipe now. Click here to view the video! 😊

With all the canning going on in my home, I can't help but get excited about Christmas.  That is what many of my canned items will be used for.  For many of the guys in my family, I have canned the boiled peanuts.  My husband likes boiled peanuts, but it is nothing he gets really excited over.  For that reason, I am making pickled okra for him.  He LOVES pickled okra!

For this project, I pulled the children into the kitchen to help.  They were so excited to get to help mama can and make a gift for Daddy at the same time.  This was a very simple and quick project that turned out to be perfect for letting them help.  We will be doing it again!

I started by sterilizing 4 pint jars in the canner for 10 minutes.  While I got that going, my little girl washed the okra in cold water.  We prepared everything we needed while the jars heated and boiled.

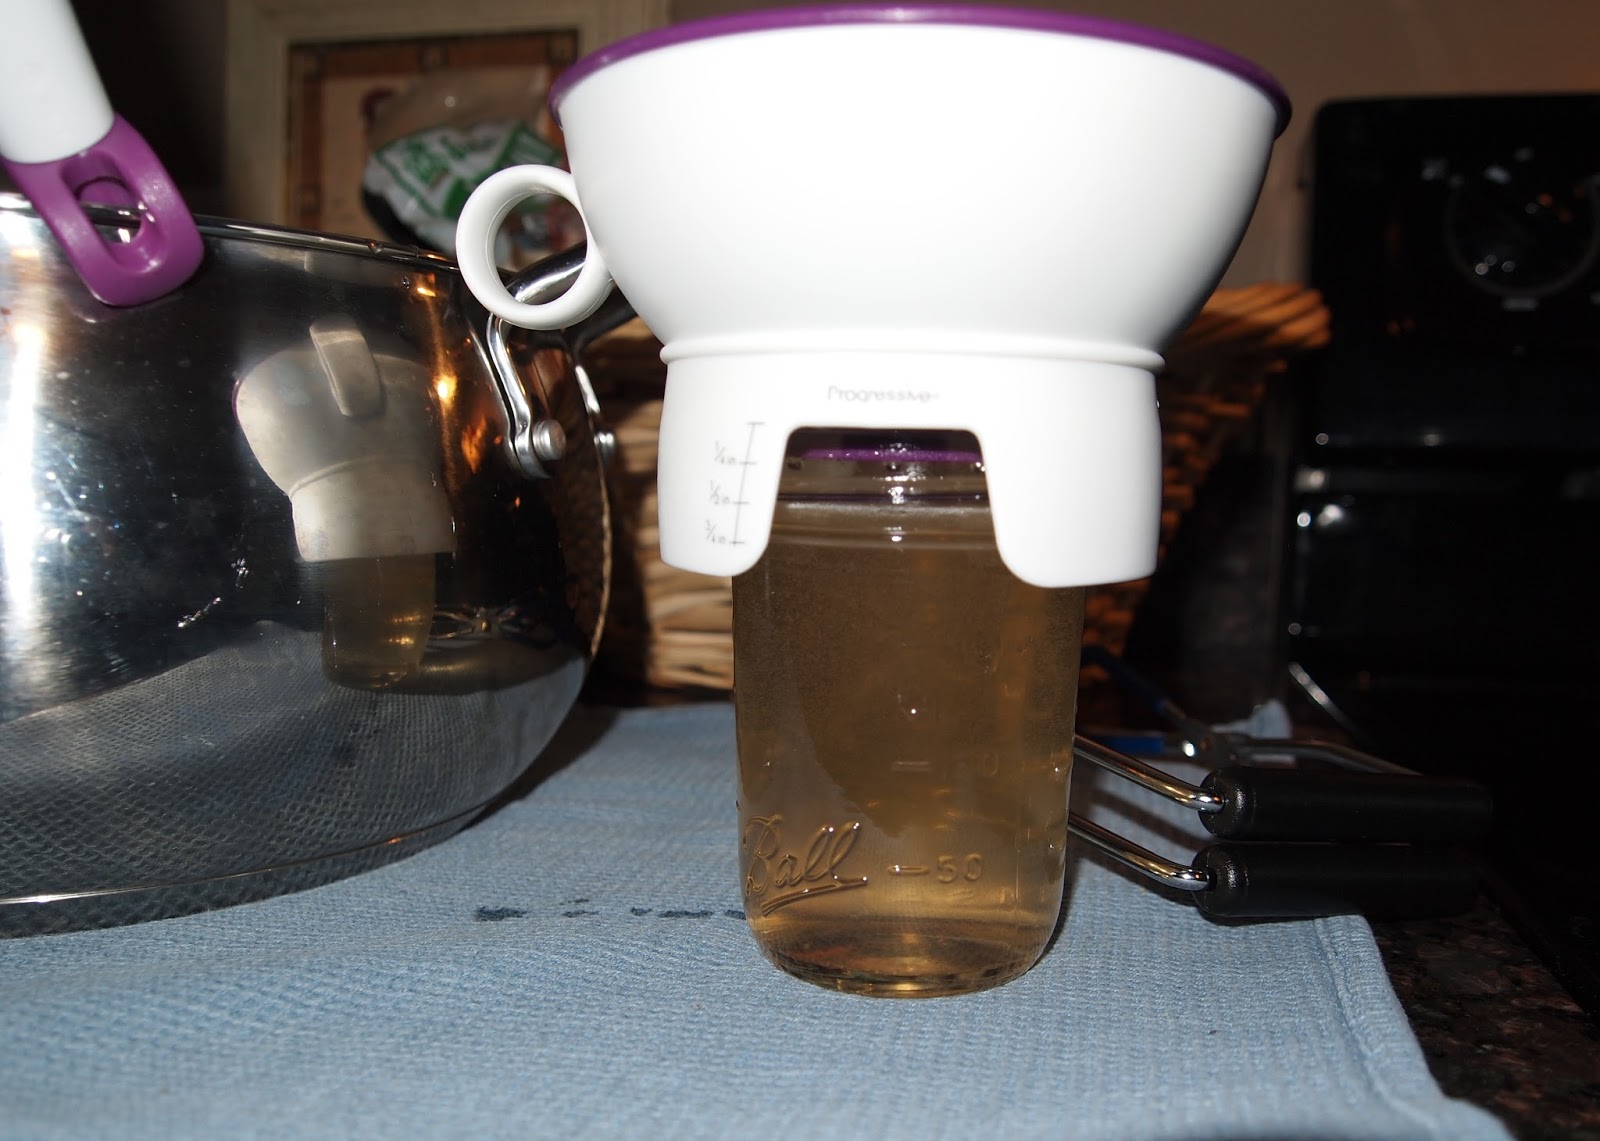
For the liquid, my little girl measured out and combined 2 cups of water, 2 cups of vinegar, 1 tablespoon of sugar and 3 tablespoons of canning salt.  This was put on the stove, brought to a boil, and turned down to low while the okra and spices were being prepared.

I still can't believe my baby is old enough to do this on her own now!  I love
that sweet little girl!
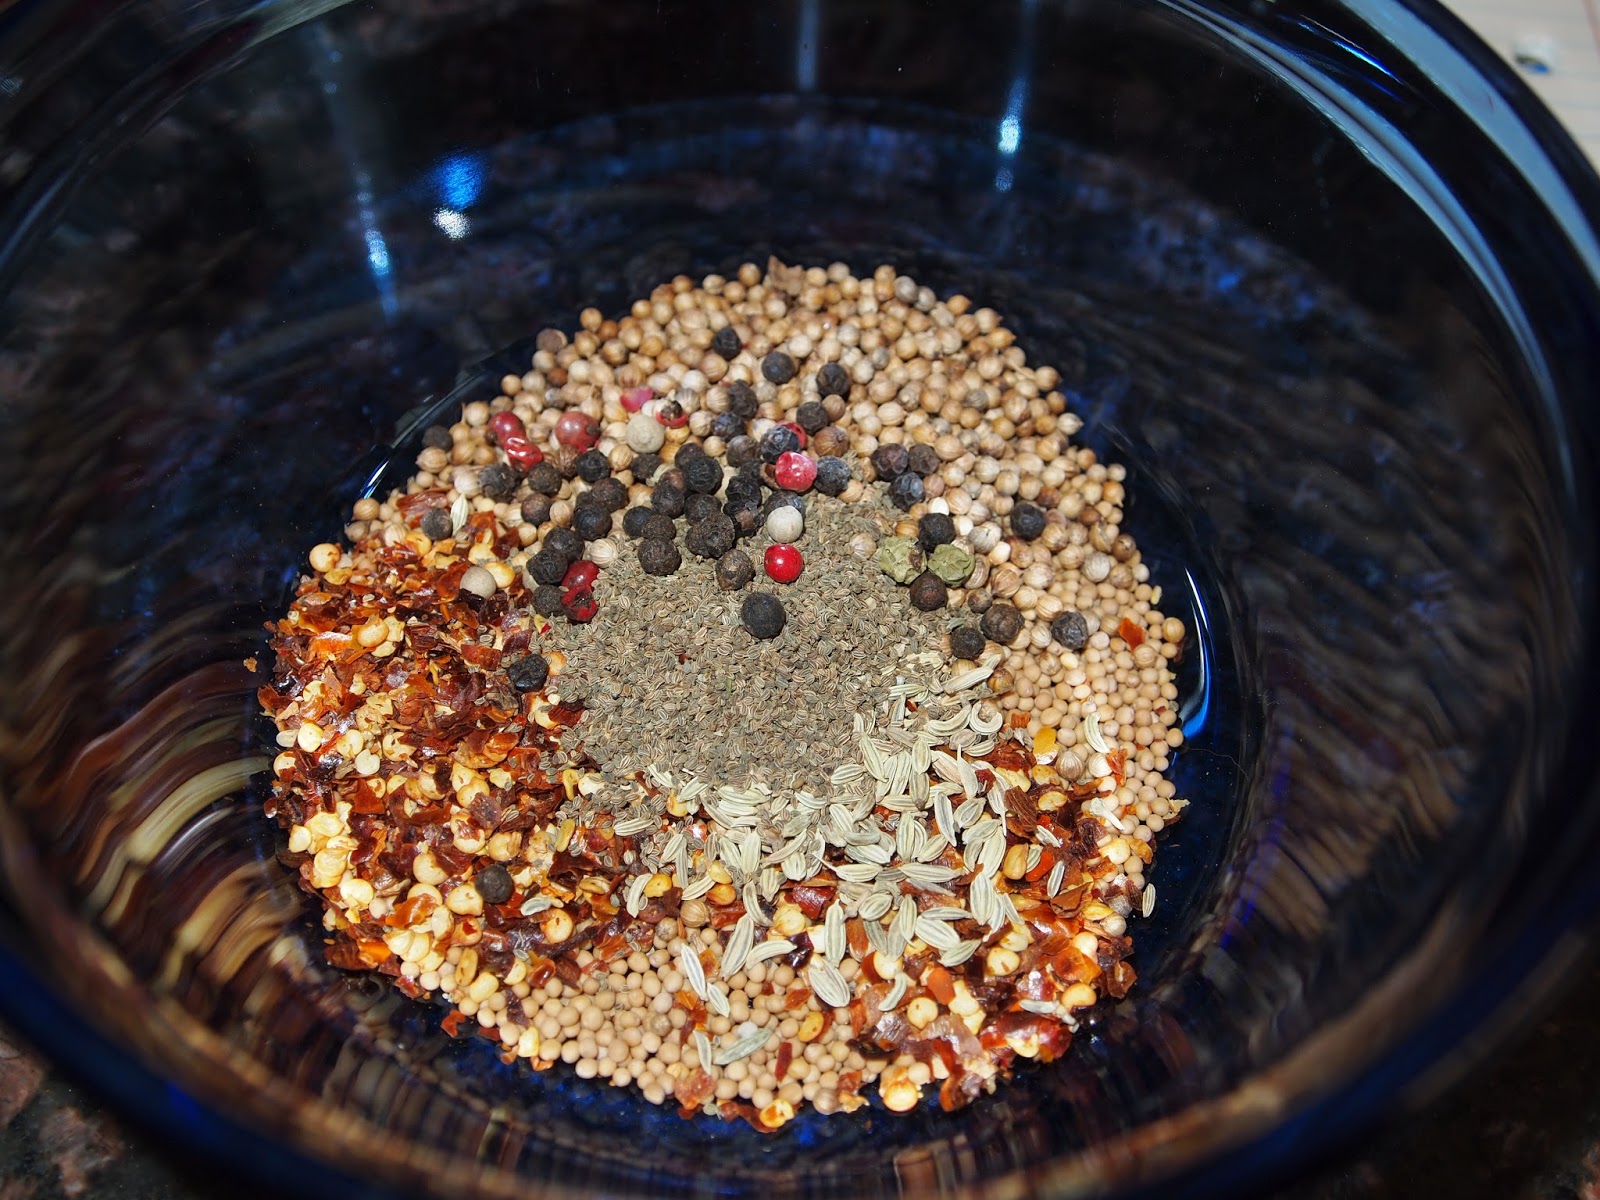
I peeled four large cloves of garlic and halved two jalapeno peppers.  We then measured out our spices:  2 tablespoons of mustard seeds, 1 tablespoon of coriander seeds, 1 tablespoon red pepper flakes, 1 teaspoons of fennel seeds, 1 teaspoon of celery seeds, and 1 teaspoon of black peppercorns.

I just thought this was so pretty.  :)
Sweet little girl helped trim the tops of the okra to about 1/4 inch.


By this time, the jars were sterile and simmering on the stove to stay hot, and the vinegar solution was ready. It was time for little man to get in on the action!  He couldn't wait.  He LOVES to help in the kitchen! We started by putting 1 clove of garlic (or two small ones) and 1 tablespoon of spice in the jar.  We worked on one jar at a time.


Then we packed the jars with the okra and 1/2 of a jalapeno pepper (Don't let your babies do the peppers!).  I had to help make sure the okra was packed in well.  You want them to be tight, but be careful not to crush them.  Placing one up and one down helps with packing them tightly.

He was taking his job so seriously,  I had to get him to smile!  :)

Little monkey!
Now the jar is all packed.  I thought it was so pretty, I just had to share this photo.  :)


The jars were filled with the vinegar solution, leaving a 1/2 inch head space.  I ran the magnet grabber tool between the jar and the okra to remove as many air bubbles as I could.


The rim was wiped clean and sealed with a lid and band.


The jars was returned to the canner to sit on the raised rack in the canner until all the other jars were complete.   When all the jars were done, the rack was lowered into the water that was still simmering.  The water was brought to a boil, and the jars were processed for 15 minutes.  The jars were removed and left to cool for 24 hours.


Eeek!  We cannot wait to try them!  Oh, I hope they turn out well!  This was SO quick and easy, I cannot wait to go get more okra to do!  Little man has already said he hopes Daddy shares with us!  Lol!  He is too cute!  Yes, the children actually love this too.  Maybe they will get some for Christmas also!  Just kidding!  I wouldn't do that to them, but they will be happy to see a lot of it canned for the family!  We hope you get to try making some for yourself!

Until we meet again, may you be blessed!

*To ensure the safety of home canned food, make sure to follow the USDA's safety guidlines.


Friday, September 6, 2013

Pear Jelly


This picture shows my result so far after making pear sauce.  So far, I have made two batches of pear jelly, at least I hope it turns into jelly.  If not, I have made two batches of pear syrup!  Each batch made nine and a half 8oz. jars.  I still have enough juice to make two more batches.  Unfortunately, I ran out of sugar, so I will have to go back to the store to get more in the morning.

When I am ready to make jelly, the first thing I always do is sterilize my jars in my water bath pan.  When they are done, I turn the eye down to low and leave my jars in the water until I am ready to pour the jelly into them.  This way they are hot and sterile when I am ready, so that is how I began my pear jelly.

In yesterday's post about pear sauce I discussed how I got juice from cooking my pears all day.  That juice was left in the pan in the refrigerator all night.  All of the solids settled to the bottom.  I removed the pan from the refrigerator very gingerly so as to not cause the solids to mix back into the juice.  This wouldn't hurt the jelly, it would just cause it to be cloudy.


If you look closely, you can see the solids on the bottom that have separated from the juice.  I ladled the clear juice slowly and carefully into five cup measurements.  Five cups of juice is what is needed to make one batch of jelly.  Next I gathered my other ingredients: 7-1/2 cups sugar, 3 T lemon juice, and one pouch of Certo liquid pectin.


The sugar and lemon juice were mixed into the pear juice as soon as it was put on the stove.  I also added 1/2 teaspoon of butter to reduce foaming.


The mixture looks very cloudy, but it will turn clear as it heats up.  Just keep stirring!


I tried to get a good picture of how it turns clear again, but it is hard when the flash reflects off the steam!


Once the mixture comes up to a boil that can't be stirred down, quickly pour in all the pectin at once.  Stir constantly.


Once the mixture is back up to a rolling boil, time for exactly one minute.  Remove the pan from the heat, and ladle the jelly (or syrup) into the hot jars, leaving a 1/8 inch head space.

Looks like this jar could have used just a tad more jelly!  
Lastly, seal the jars with lids and bands.  I like to work with one jar at a time to keep my jars hot.  Once the lid is on, I sit the jar back in the raised rack in the canner until all the jars are finished.  Then, I lower the rack back into the water.  Add water if need to 1-2 inches above the jars.


Process the jars for 10 minutes in the water bath.  Remove the jars from the canner and sit in a draft-free area to cool.  Do not touch them for 24 hours.  If you have a jar that doesn't seal, put it in the refrigerator and use it first.  Happy canning!

Until we meet again, may you be blessed!

* To insure the safety of your canned food, always follow the USDA's rules for safe canning techniques.

Thursday, September 5, 2013

Pear Sauce


Update: You can now view my video tutorial on my YouTube channel, My Modern Homestead:
https://youtu.be/0W0Rh10WMnU

Have I mentioned how much I love canning?  Just in case, today's post is dedicated to the sweet, full-textured pear.  :)  My neighbor gave me two plastic grocery bags full of pears over the weekend, so yesterday's canning marathon included pear sauce.  I have the best neighbor!!  I love cinnamon apple sauce, so the idea of pear sauce totally had me at hello!  Pear sauce is not simple and quick, so be prepared to spend a day at home to get it all in.  I highly recommend a rainy day with a cup of mocha!

To begin, wash and rinse your pears really well.

Aren't they so pretty?
The next step can be done two different ways.  If you have a food mill, remove both ends of the pears.  Cut the smaller pears in half and the larger pears in quarters.  Don't remove the skins or cores.  If you don't have a food mill, you will want to peel, cut, and core your pears (The cores and peels can be boiled to make juice for pear jelly).


Place the pears in a large pot of cold water sprinkled with Fruit Fresh as they are cut.  Having a cute little helper is always fun.


Next, put the pears on the stove to cook slowly.

This was my second time doing pear sauce.  With this batch,
I wanted to also have enough juice with which to make jelly,
so I made sure to have plenty of water.   
This is what my pears looked like as they cooked when I made sauce without a food mill.

I kept just enough water in the pan to keep them from burning.  I also threw
in a few splashes of lemon juice.
Once the pears were soft, it was time to turn them into sauce.  There are different ways to turn the pears into sauce.  If you have a food mill, remove the pears from the water and run the pears through the mill.  Save the water if you plan to make jelly with it!  The end product is your pear sauce.  If it is too runny, it can be cooked slowly a little while longer to your desired thickness.

If you don't have a food mill and have peeled and cored your pears, you can use an immersion blender to process the pears, or you can run the pears through a food processor, returning them to the pan when done.

Once the pears are processed into sauce, they can be prepared to your taste.  I added sugar and cinnamon to mine.  I cooked the sauce for a little longer to make sure the sugar was fully dissolved.


Next, the sauce was ladled into hot, clean jars leaving 1/2 inch head space.  The rims were wiped clean, and the jars were sealed with two piece lids.  The jars were then processed.  Pints should be processed for 20 minutes and quarts for 25 minutes in a water bath.  


Viola!  Beautiful jars of pear sauce!  What do you like to add to your sauce?  I would love any great ideas!


Tomorrow, I will share how I turned the cooking water into pear jelly!

Until we meet again, may you be blessed!

*Always follow safety guidelines from the USDA to ensure safety of canned products.

Wednesday, September 4, 2013

Amaretto Peach Preserves with Pecans

You spend the day canning!


Today was another very full day of canning!  I had a lot of pears to get done and my sister had requested a very specific item that I want to share with you.  I gave a lot of thought as to whether I should share or not since it does contain amaretto, but after much consideration, I am at peace with sharing it.  We do not keep alcohol in our home unless it is a cooking wine, so I was unsure about this recipe.  I guess my thinking reached a turning point when I realized vanilla flavoring was made with vodka!  I then understood my amaretto was no different, it was just a flavor.


To make these preserves you will need 4 cups of peaches chopped, 7-1/2 cups of sugar (cough, cough!  Yep, that is a lot of sugar!), 1/4 cup of lemon juice, 1-1/2 Tablespoon of orange zest, one pouch Sure-Jell Certo Liquid Pectin, 3/4 cup of pecan chips, and 3 Tablespoons of Amaretto.

I doesn't look like I had four cups of peaches because I had to freeze my peaches for a couple of days before I could get to them.  They measured four cups before being frozen.  :)

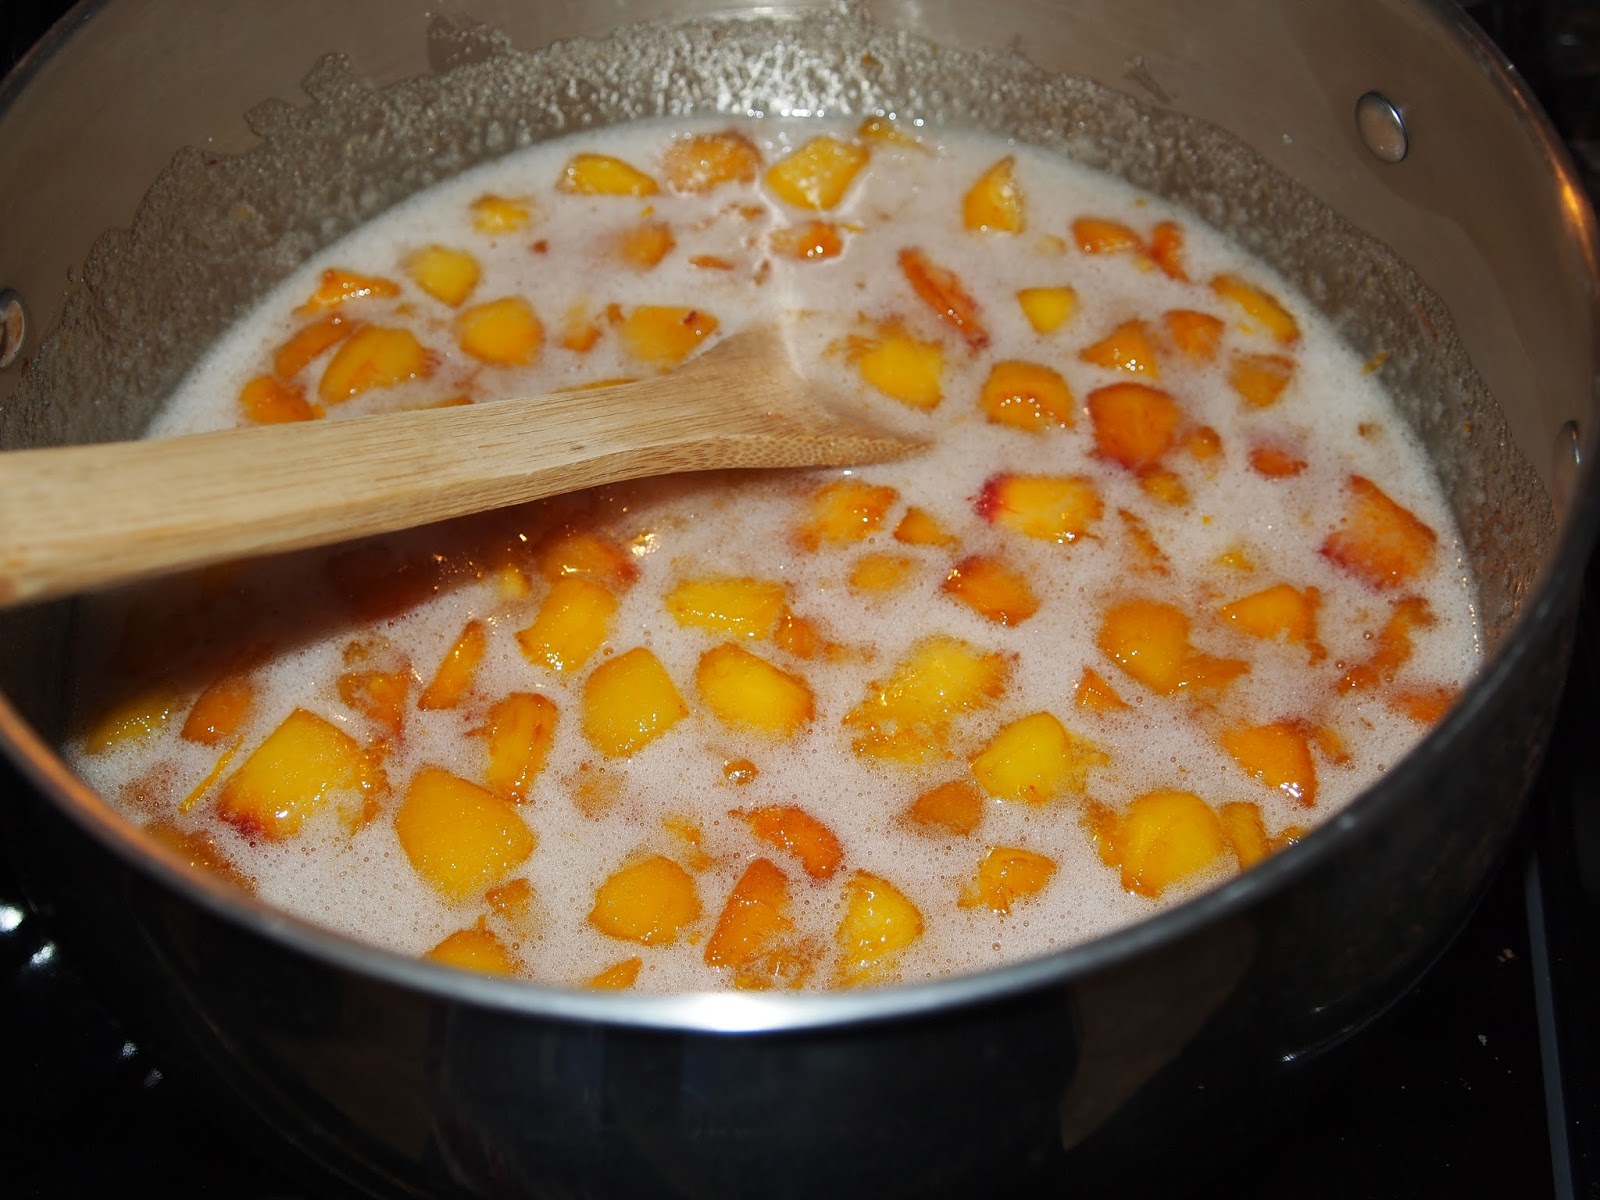
To begin,  mix the sugar, orange zest, lemon juice, and peaches together in a large pan.


Keep stirring!  It will mix together, I promise!  :)

See?


You may add 1/4-1/2 tsp. of butter at this point to help reduce the foam if you wish.  Bring this mixture to a rolling boil, and add in the liquid pectin all at one time.

Make sure you have this opened and ready to go before you begin cooking
the peaches!
Mix this in well, stirring constantly until the peaches come back to a rolling boil.  Once the mixture is at rolling boil, boil the mixture for exactly one minute.

Remove the mixture from the heat.  Stir in the pecans and amaretto.


Sorry to confuse you with the 1/4 cup measuring cup.  I just poured the
3 Tablespoons of amaretto in there to make pouring easier and not mess
up another bowl or cup.
Doesn't this look delicious???  After tasting it, I can see why my sister likes it so much!


The preserves were ladled into jars, leaving 1/4 inch head space, sealed with two piece lids, and processed in a hot water bath for 10 minutes.


This is the result.  I need to try to get a better picture tomorrow after the 24 hour waiting period, but I just couldn't wait to share!  :)  These are so delicious!


So?  What do you think?  I hope you try them, and let me know what you think!  If you have any variations, I would love to hear!  Leave a comment!

Until we meet again, may you be blessed!

* To insure the safety of your canned food, always follow the USDA's rules for safe canning techniques.

Update!  Better photo.  :)


Tuesday, August 20, 2013

Canning Mushrooms

Update: You can find my video tutorial for mushrooms on YouTube now!


Hello friends!  

Does this post find you squeezing every last ounce out of summer or has school started back for your little ones?  We have started back, but boy, it has been a struggle to get back into the swing of things and get everything done!  It doesn't help that I still have canning on the brain!  Add to it the fact that we have been wrapped up in shopping for RVs this week, and it makes for a very unproductive school week.  :(  Thank goodness we are good at doubling up on official lessons and learning through life's situations!

Today, I wanted to share with you the mushrooms I canned the other day.  It was a very quick and easy canning project that started with needing mushrooms for a homemade pizza.  I love canned mushrooms on my pizza, but when I looked at the price for a jar in the store I realized I could make a whole lot more of my own for about the same price.

I started with two pounds of sliced mushrooms.  Into two quarts of water, I added two heaping tablespoons of Better Than Bouillon Beef Base.  (I would love to have used my own beef stock, but I haven't gotten around to making any.  Soon, though!  That is a big project I hope to tackle soon!)  I brought that to a boil, put my mushrooms in, and boiled the mushrooms for five minutes.  Then, I packed the mushrooms into hot half-pint jars.  The jars were sealed with two piece lids and processed at 10lbs pressure for 45 minutes. Make sure to use the correct pressure for your area.  **Always follow the USDA's canning guidelines for safe canning. 

Here is the finished product!


Have you canned anything yet?  You are always welcomed to share in the comments!

Until we meet again, may you be blessed!

Thursday, August 8, 2013

Boiled Peanuts

Oh, my stars!  I feel like I have boiled peanuts coming out my ears, y'all!  I started my peanuts with soaking two nights ago, and the last ones are on the stove cooking now with chili powder and ground cumin. Yum!  I have 21 quarts and 11 pints done.  I am not sure what I will end up with from those on the stove.  I will be putting those in the freezer because I am pooped!


Nothing says summer and fall more loudly to me than sitting down with a bowl of hot boiled peanuts in a cool house and popping those shells between my teeth.  Oh, what fond memories this brings back.  My stepfather used to LOVE cooking peanuts every year.  When I smell them I can remember the texture and color of the sofa fabric against my skin.  I can still hear my mama quietly complaining that the salt was eating away at her pot while I sat on a stool at the counter.  That kitchen, that home, all those memories...yep, boiled peanuts are one thing that easily take me back there.  Oh, how I would love to spend just a few more minutes there to be thankful for the things I took for granted, to morn what was lost, to be happy for what was gained, just to be. Goodness, I loved my parents.  I wish I could go back and try even more to prove that to them!  That home will forever be my childhood home.

Well, life has a way of moving us on, and I recently learned that boiled peanuts can be canned.  I knew I had to do them!  There is nothing hard about doing them, but they are very time consuming.  I am sure I will appreciate my efforts this fall when I am munching on my peanuts while watching my Georgia Dawgs playing football!

To make the peanuts, I first soaked my peanuts for one hour in cold water in my sink two times.  The next time, I left the peanuts to soak overnight.  Next, I put the peanuts in a large pot and covered them with water.  They were left to come up to a boil while I prepared the jars, lids, and brine.

Everything ready to go!

Next, I used a funnel to fill my jars with the peanuts.  I shake my jars when I am almost done filling and add more nuts if needed.


Next, I dipped a measuring cup into the brine and poured the brine into the jar to the lower rim of the jar.


The rim was then wiped clean, and the jar was sealed with a two piece lid.


As each jar was finished, it was placed back into the simmering water in the canner.  The process was repeated until the canner was full.


Once the canner was full, I processed quarts for 50 minutes at 10 pounds pressure and pints for 45 minutes at 10 pounds pressure.


Don't stop, don't go too fast!  Don't stop, don't go too fast!  Don't stop, don't go too fast!  :)  Don't make my mistake and let your sleeve catch the regulator, knocking it askew.  That is not pleasant. :)


Once the pressure was released from the canner, I removed the jars from the canner to finish cooling.


The jars should remain untouched for 24 hours.

All done!


Ingredients
1/2 bushel raw peanuts
2 gallons water
2 cups salt
Any seasonings you would like to add to taste, optional

Directions:
In a deep sink or a very large pots such as a water bath canner, soak peanuts for one hour and drain that water.  Run more water and drain.  Run more water and soak overnight.  I do my soaking in the evenings. This method of soaking and rinsing helps to ensure that your peanuts are as clean as possible before going into the jars. In the morning, prepare all materials and jars.  (With half a bushel, my peanuts made 16 quarts and 1 pint plus what I threw in the crock pot.)  Drain the peanuts and put them in a large pot.  Cover them with water and place on the stove.  Bring them to a boil and them turn them down to simmer for at least 15 minutes.  (They will not be done at this point.)  While waiting on the peanuts to come to a boil, mix the salt and water in a large stock pot.  Set it on stove and bring just to a boil, then turn down to simmer. (I actually did mine in two batches: 1gal. water & 1 cup water) Place rings and lids for the jars in warm water.  I also put my jars in my canner to simmer in hot water while I wait.  This way, my jars are hot when I am ready to fill them. When the peanuts have simmered for at least fifteen minutes, fill jars to within one inch of the top of the jar.  Pour hot brine over the peanuts to the lower rim of the jar.  Run a flat, plastic spatula between the peanuts and jar to release any trapped air bubbles.  Seal the jars with two piece lids.  Process pints for 45 minutes at 10 pounds pressure or quarts for 50 minutes at 10 pounds pressure.  Be sure to check for proper pressure in your area.  **When canning, always make sure to follow USDA guidelines for safe canning.